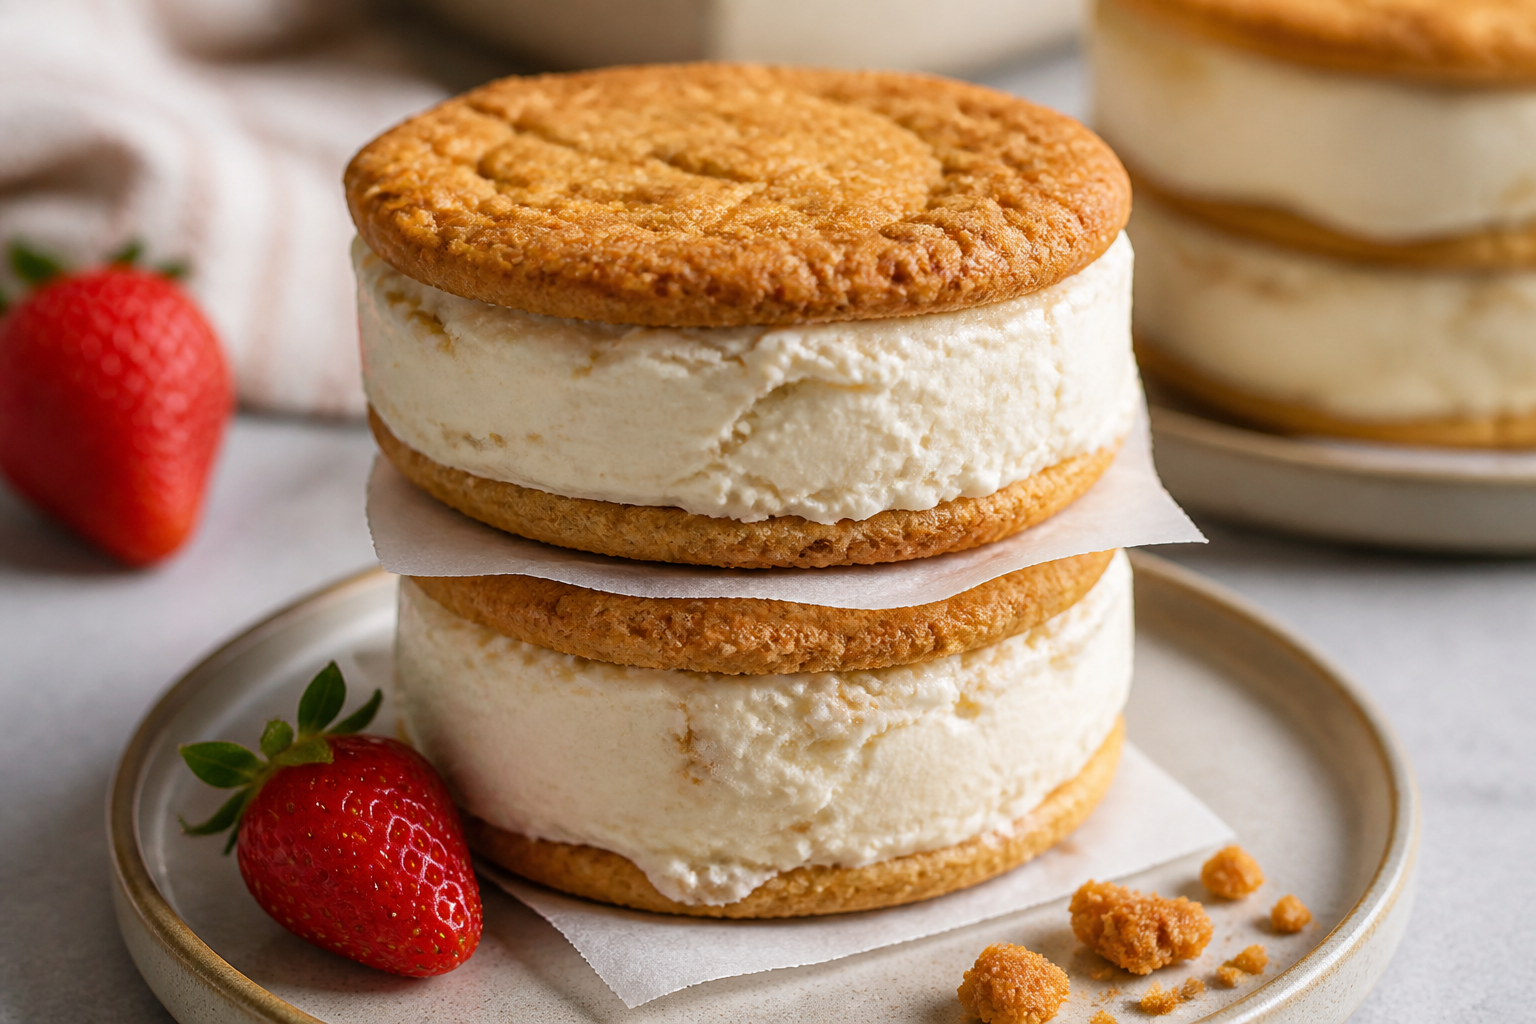
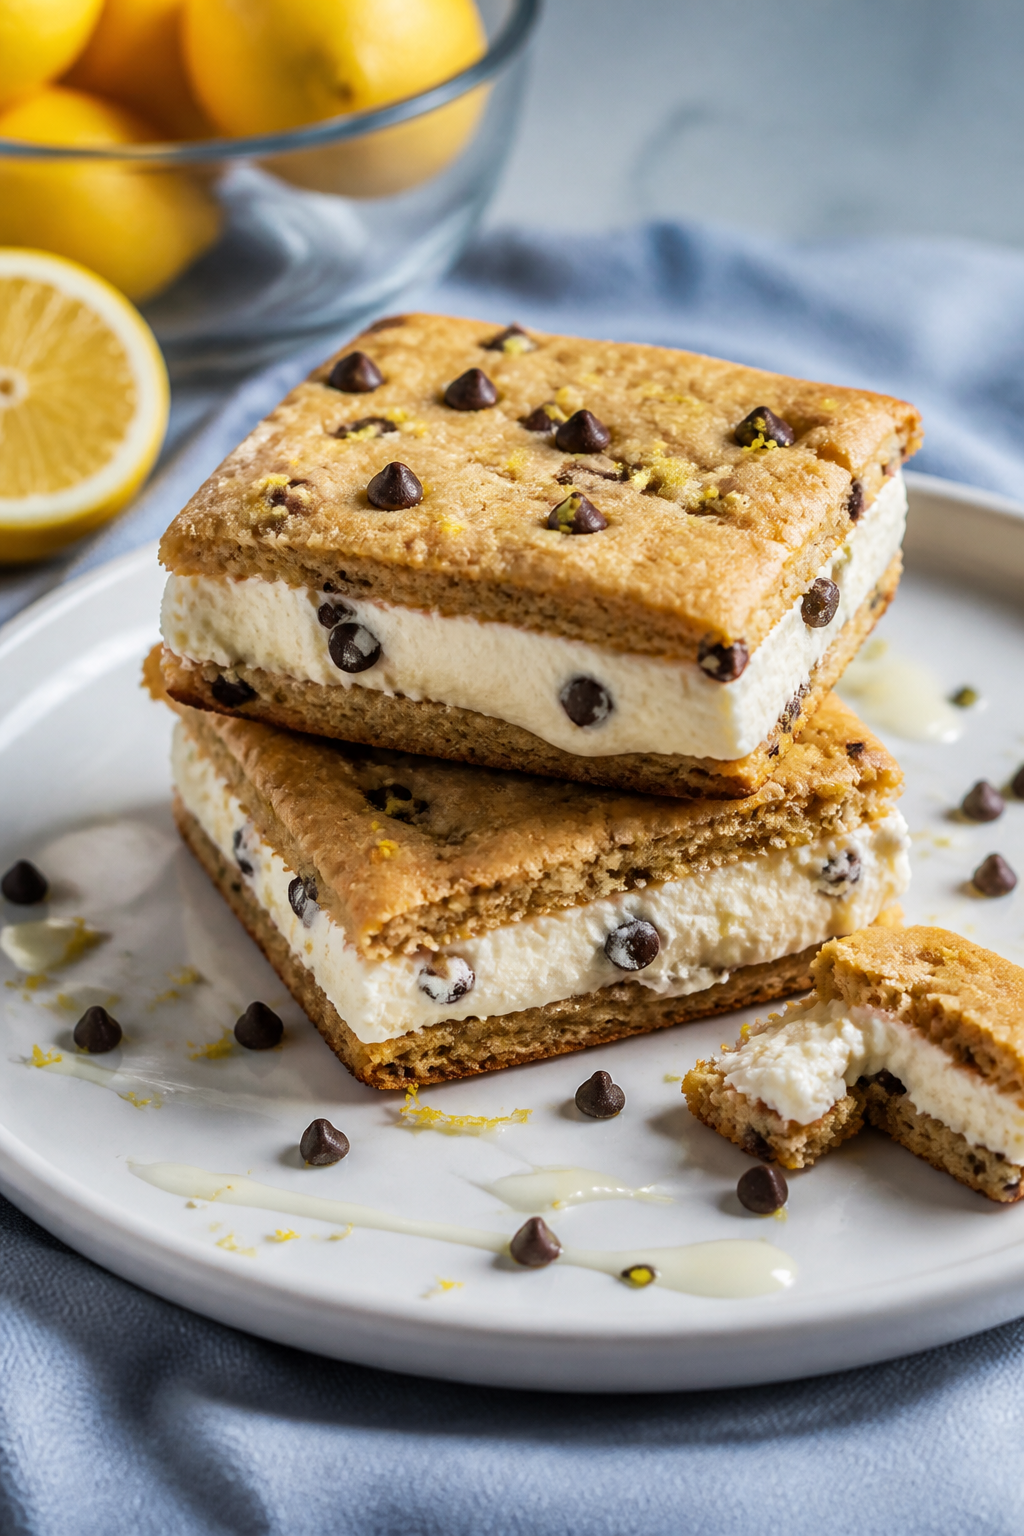
High Protein Cheesecake Ice Cream Sandwiches – Creamy, Satisfying, and Easy
If you love cheesecake and crave ice cream sandwiches, this recipe brings both worlds together with a boost of protein. The result is a creamy, tangy filling tucked between soft, cookie-like layers you can make with pantry staples. It tastes like dessert, fuels like a snack, and stores well for grab-and-go treats.
You don’t need fancy equipment, and the steps are simple enough for a weeknight project. Make a batch, freeze them, and you’re set for the week.
Ingredients
Method
- Prep your pan. Line a 9x13-inch pan with parchment so it overhangs on two sides. This makes lifting the slab out much easier later.
- Mix the dry cookie ingredients. In a bowl, whisk oat flour, protein powder, coconut sugar, baking powder, and a pinch of salt. Aim for a smooth, even mix.
- Add the wet ingredients. Stir in applesauce, egg white, almond milk, and vanilla. The batter should be thick but spreadable. If it’s too stiff, add a tablespoon of milk at a time. Fold in mini chocolate chips if using.
- Bake the first cookie layer. Spread half the batter evenly in the lined pan. Bake at 350°F (175°C) for 8–10 minutes, just until set and lightly puffed. You want soft, not crisp.
- Cool briefly. Lift the layer out with the parchment and set aside to cool. Re-line the pan with fresh parchment.
- Bake the second cookie layer. Spread the remaining batter into the pan and bake the same way. Let both layers cool completely. Soft layers are key to biteable sandwiches after freezing.
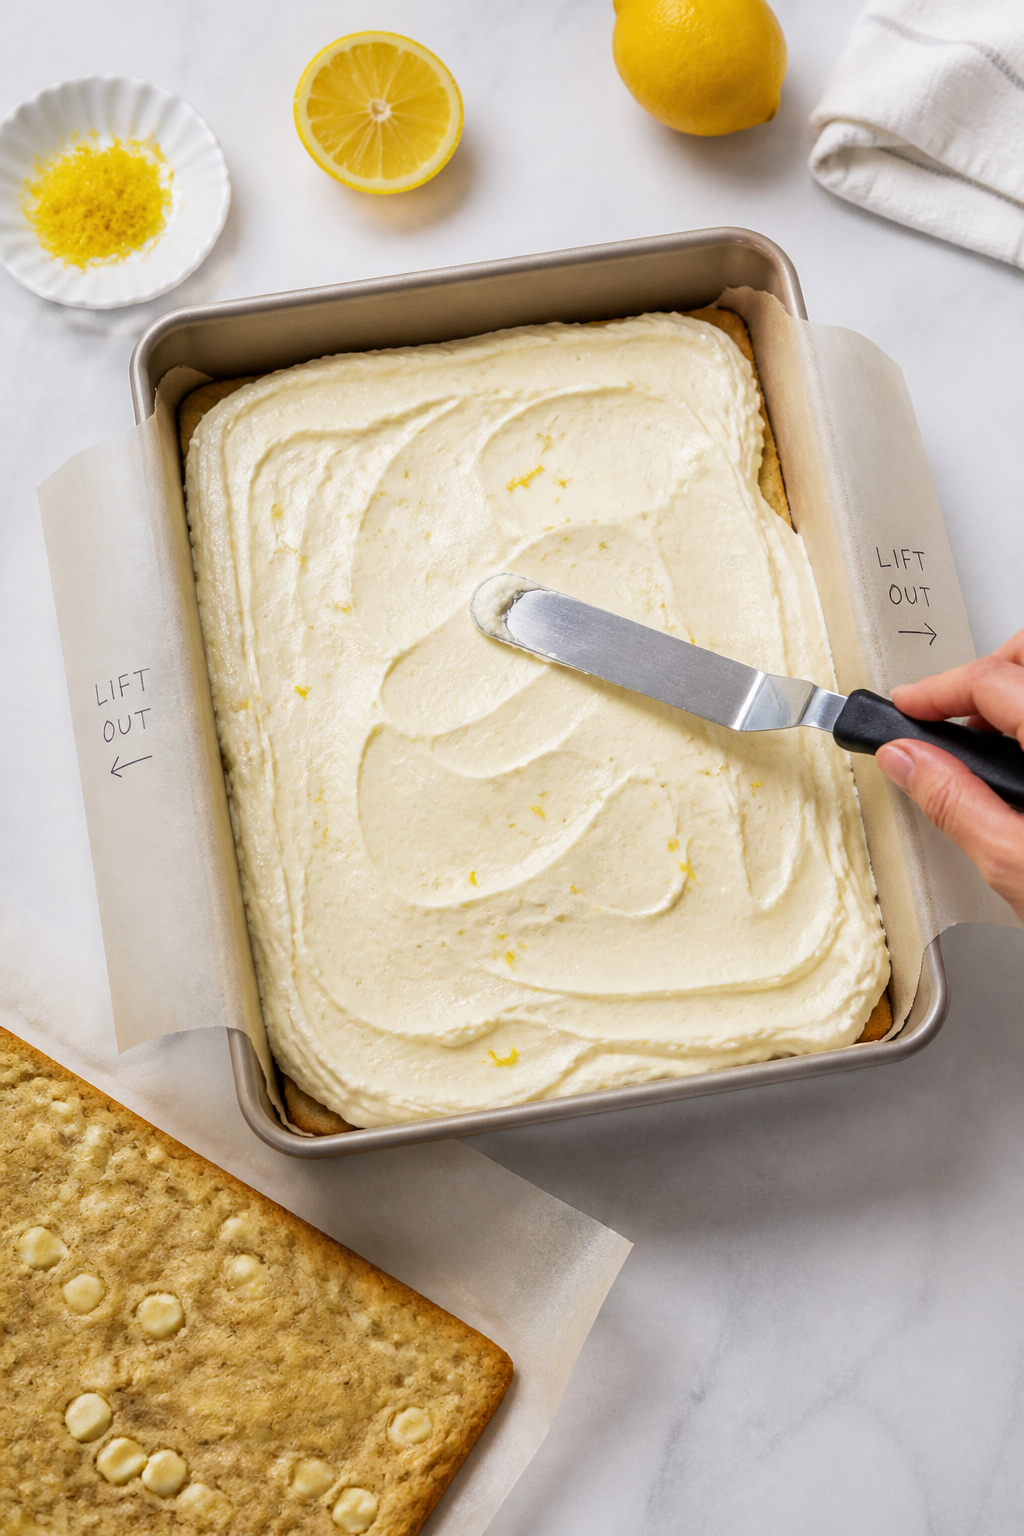
- Make the cheesecake filling. In a mixing bowl, beat softened light cream cheese until smooth. Add Greek yogurt, protein powder, powdered sweetener, vanilla, and a pinch of salt. Beat until fluffy and glossy. Taste and adjust sweetness. A little lemon zest adds cheesecake tang.
- Assemble the slab. Place one cooled cookie layer back into the lined pan. Spread the cheesecake filling evenly across. Top with the second layer, pressing gently so it adheres without squeezing out the filling.
- Freeze until firm. Cover and freeze for 3–4 hours, or until the filling is solid enough to slice cleanly.
- Slice into sandwiches. Lift the whole slab out using the parchment. Use a sharp knife to cut into rectangles. Wipe the blade between cuts for neat edges.
- Wrap and store. Wrap each sandwich in parchment or plastic wrap and place in a freezer-safe bag or container. Label with the date.
- Serve. Let a sandwich sit at room temp for 3–5 minutes before eating for the perfect soft-serve bite.
What Makes This Special
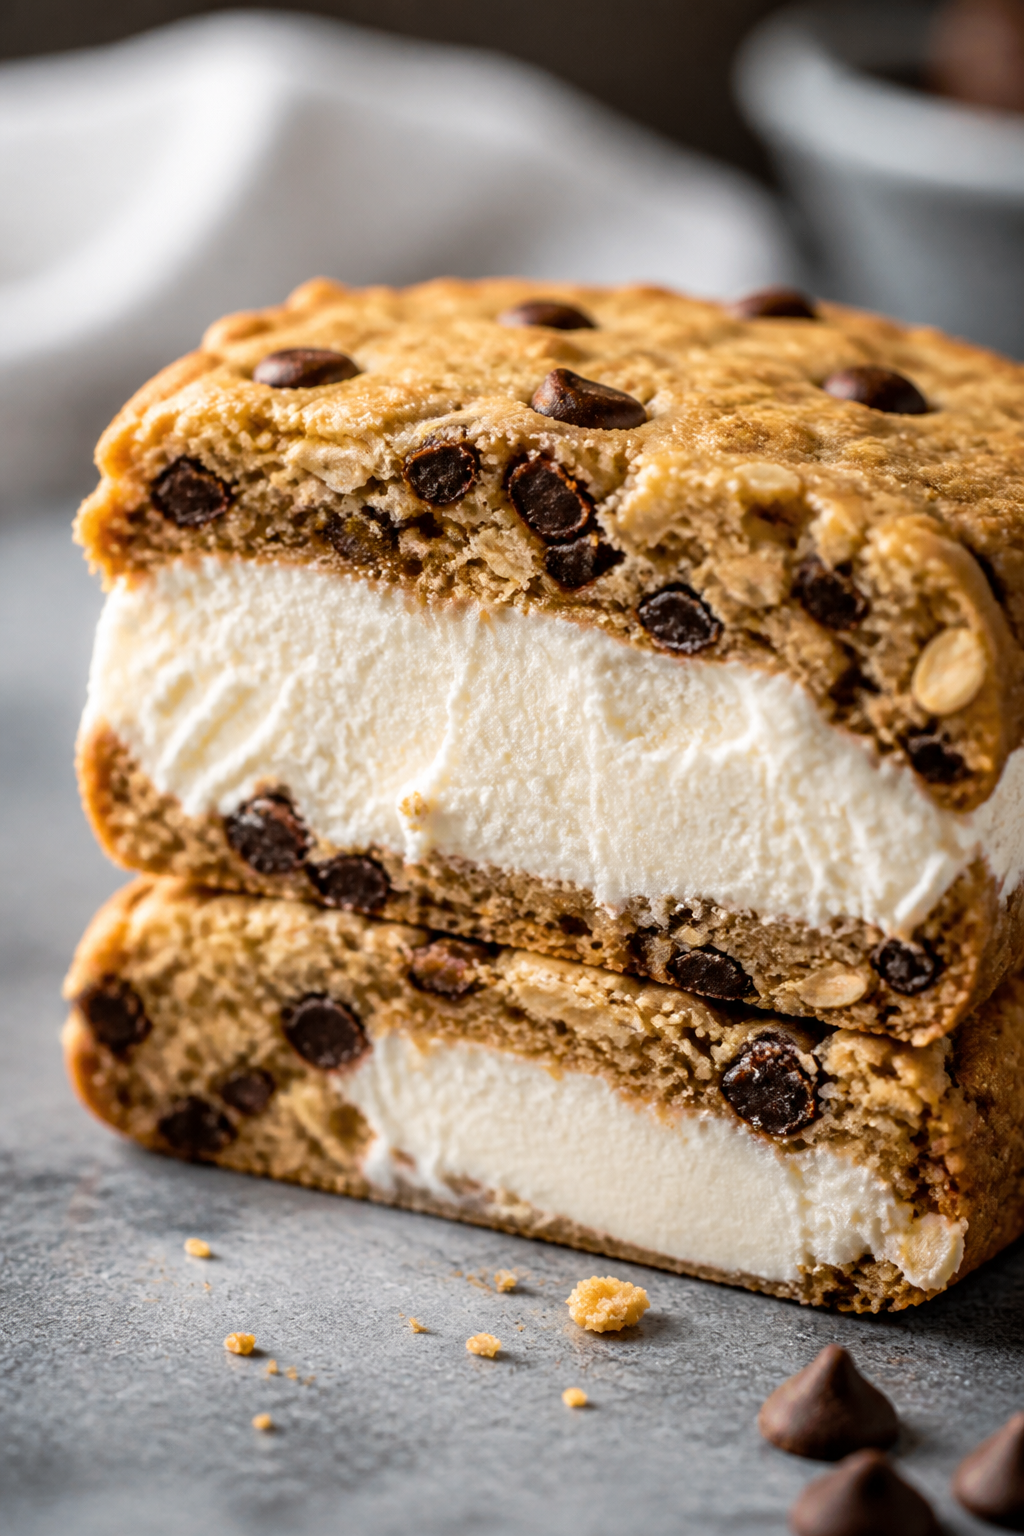
Most ice cream sandwiches are sugar-heavy and melt fast. These flip the script by using a whipped cheesecake filling that’s rich in protein and holds up beautifully in the freezer.
The cookie layers are soft, slightly chewy, and easy to bite even when frozen. You can adjust the sweetness, the flavor, and the protein level to match your goals.
They also feel indulgent without being complicated. Greek yogurt and light cream cheese add body and tang, while vanilla whey or casein brings that classic ice cream vibe with extra staying power. It’s a dessert you can feel great about.
Shopping List
- For the cookie layers:
- Oat flour (or finely blended rolled oats)
- Vanilla or plain whey/casein blend protein powder
- Coconut sugar or light brown sugar
- Baking powder
- Salt
- Unsweetened applesauce
- Egg white (or a whole egg if you prefer richer)
- Almond milk (or any milk)
- Vanilla extract
- Mini chocolate chips (optional)
- For the cheesecake ice cream filling:
- Light cream cheese, softened
- Plain Greek yogurt (2% or nonfat)
- Vanilla protein powder (whey, casein, or a blend)
- Powdered sweetener (powdered sugar, allulose, or erythritol blend)
- Vanilla extract
- Pinch of salt
- Lemon zest (optional, for brightness)
- For assembly and extras:
- Parchment paper
- 9×13-inch pan or similar
- Offset spatula or spoon
Step-by-Step Instructions
- Prep your pan. Line a 9×13-inch pan with parchment so it overhangs on two sides.
This makes lifting the slab out much easier later.
- Mix the dry cookie ingredients. In a bowl, whisk oat flour, protein powder, coconut sugar, baking powder, and a pinch of salt. Aim for a smooth, even mix.
- Add the wet ingredients. Stir in applesauce, egg white, almond milk, and vanilla. The batter should be thick but spreadable.
If it’s too stiff, add a tablespoon of milk at a time. Fold in mini chocolate chips if using.
- Bake the first cookie layer. Spread half the batter evenly in the lined pan. Bake at 350°F (175°C) for 8–10 minutes, just until set and lightly puffed.
You want soft, not crisp.
- Cool briefly. Lift the layer out with the parchment and set aside to cool. Re-line the pan with fresh parchment.
- Bake the second cookie layer. Spread the remaining batter into the pan and bake the same way. Let both layers cool completely.
Soft layers are key to biteable sandwiches after freezing.
- Make the cheesecake filling. In a mixing bowl, beat softened light cream cheese until smooth. Add Greek yogurt, protein powder, powdered sweetener, vanilla, and a pinch of salt. Beat until fluffy and glossy.
Taste and adjust sweetness. A little lemon zest adds cheesecake tang.
- Assemble the slab. Place one cooled cookie layer back into the lined pan. Spread the cheesecake filling evenly across.
Top with the second layer, pressing gently so it adheres without squeezing out the filling.
- Freeze until firm. Cover and freeze for 3–4 hours, or until the filling is solid enough to slice cleanly.
- Slice into sandwiches. Lift the whole slab out using the parchment. Use a sharp knife to cut into rectangles. Wipe the blade between cuts for neat edges.
- Wrap and store. Wrap each sandwich in parchment or plastic wrap and place in a freezer-safe bag or container.
Label with the date.
- Serve. Let a sandwich sit at room temp for 3–5 minutes before eating for the perfect soft-serve bite.
Keeping It Fresh
These hold up well in the freezer for up to 6 weeks. Keep them tightly wrapped to avoid freezer burn and off flavors. If you’re stacking, add parchment between layers.
For the best texture, don’t refreeze fully thawed sandwiches.
Instead, pull out what you plan to eat and let them soften briefly before enjoying.
Why This is Good for You
The filling uses Greek yogurt and light cream cheese for protein and a creamy mouthfeel without heavy cream. Protein powder boosts the macro profile, so a sandwich can double as a post-workout snack or a high-protein dessert.
Oat flour adds fiber and a mild, nutty taste. Using applesauce reduces added fat while keeping the cookie layers moist and tender.
You still get a satisfying dessert, just with better balance and staying power.
Common Mistakes to Avoid
- Overbaking the cookie layers. If they crisp in the oven, they’ll be too hard once frozen. Pull them as soon as they set.
- Using cold cream cheese. Cold cream cheese clumps and won’t blend smoothly. Soften it to room temperature first.
- Adding too much liquid to the filling. The mixture should be thick and spreadable.
Too loose, and it won’t slice cleanly.
- Skipping the chill. Freezing for less than 3 hours makes messy cuts and squished layers.
- Cutting with a dull knife. A sharp chef’s knife or serrated knife keeps edges clean.
Variations You Can Try
- Strawberry swirl: Ripple in a few tablespoons of reduced-sugar strawberry jam into the filling before topping with the second layer.
- Cookies and cream: Fold crushed chocolate sandwich cookies into the filling and skip the chocolate chips in the cookie layers.
- Chocolate peanut butter: Use chocolate protein in the filling and spread a thin layer of peanut butter on the bottom cookie before adding the filling.
- Lemon cheesecake: Add extra lemon zest and a teaspoon of lemon juice to the filling, and mix poppy seeds into the cookie batter.
- Gluten-free: Use certified gluten-free oat flour or a 1:1 gluten-free baking blend.
- Dairy-free: Swap in dairy-free cream cheese, coconut yogurt, and a plant-based protein powder. Check sweetness and texture, adding a touch more powdered sweetener if needed.
- Higher protein punch: Add 1–2 extra tablespoons of protein powder to the filling and a splash more milk if it’s too thick.
FAQ
Can I make the cookie layers ahead of time?
Yes. Bake, cool, and wrap them well.
Store at room temperature for 24 hours or in the fridge for up to 3 days. Assemble when ready.
What protein powder works best?
A whey-casein blend gives the creamiest texture and holds up nicely when frozen. Pure whey works in a pinch but can be a bit icier.
Plant-based powders vary, so start with a little less and adjust liquid as needed.
How sweet should the filling be?
Sweeten to taste. Keep in mind flavors dull slightly when frozen, so aim a touch sweeter than you’d want at room temp. Powdered sweeteners mix smoothly without grit.
Do I need an ice cream maker?
No ice cream maker needed.
The filling is essentially a whipped cheesecake that freezes firm but creamy. Just beat it well and freeze until set.
Why use oat flour for the cookie layers?
Oat flour gives a tender, soft-baked texture that stays pleasant in the freezer. It also adds fiber and a mild flavor that pairs well with cheesecake.
How do I keep the layers from sliding when slicing?
Make sure the slab is fully frozen.
Use a sharp knife, press straight down, and wipe the blade between cuts. If it’s very firm, let it sit for 2 minutes before slicing.
Can I reduce the sugar further?
Yes. Use an allulose or erythritol blend in both the cookie layers and filling.
Taste as you go since sweetness levels differ by brand.
What’s a good serving size?
Most pans yield 8–12 sandwiches. One sandwich is a solid snack or dessert. If you’re using them post-workout, two smaller pieces can work well.
In Conclusion
High Protein Cheesecake Ice Cream Sandwiches hit the sweet spot between comfort and smart nutrition.
They’re simple to assemble, easy to customize, and freezer-friendly for busy weeks. With a creamy filling and soft cookie layers, every bite tastes like a treat—not a compromise. Make a batch, tweak the flavors to your style, and enjoy a dessert that actually works for your day.
Printable Recipe Card
Want just the essential recipe details without scrolling through the article? Get our printable recipe card with just the ingredients and instructions.