No-Bake High Protein Cheesecake – Creamy, Light, and Ready in Minutes
This no-bake high protein cheesecake tastes like a classic dessert but feels light, balanced, and surprisingly filling. It’s creamy, smooth, and sweet enough to satisfy cravings without a sugar crash. You can make it with simple ingredients you probably already have in your fridge.
No oven, no water baths, no fuss—just mix, chill, and slice. It’s ideal for meal prep, holidays, or a quick treat after dinner.
Ingredients
Method
- Prep the pan: Line the bottom of an 8- or 9-inch springform pan with parchment. Lightly grease the sides so the cheesecake releases cleanly.
- Make the crust: In a bowl, mix crushed crackers, melted butter, maple syrup, and a pinch of salt until the texture resembles wet sand. Press firmly and evenly into the pan using the bottom of a glass. Chill while you make the filling.
- Bloom the gelatin: In a small bowl, sprinkle gelatin over 1/4 cup cold water or milk. Let it sit 5 minutes. Then gently warm in the microwave for 10–15 seconds or in a small pot until just dissolved. Do not boil.
- Beat the cream cheese: In a large bowl, beat softened cream cheese with a hand mixer until smooth and lump-free, about 1–2 minutes.
- Add yogurt and flavorings: Mix in Greek yogurt, vanilla, lemon juice, and zest. Blend until creamy.
- Sweeten and add protein: Whisk in the powdered sweetener and protein powder. Start on low speed, then increase. Scrape the bowl to avoid dry pockets. Taste and adjust sweetness.
- Incorporate gelatin: With the mixer running on low, slowly pour in the warm dissolved gelatin. Mix until fully combined. The filling should be silky and slightly thick.
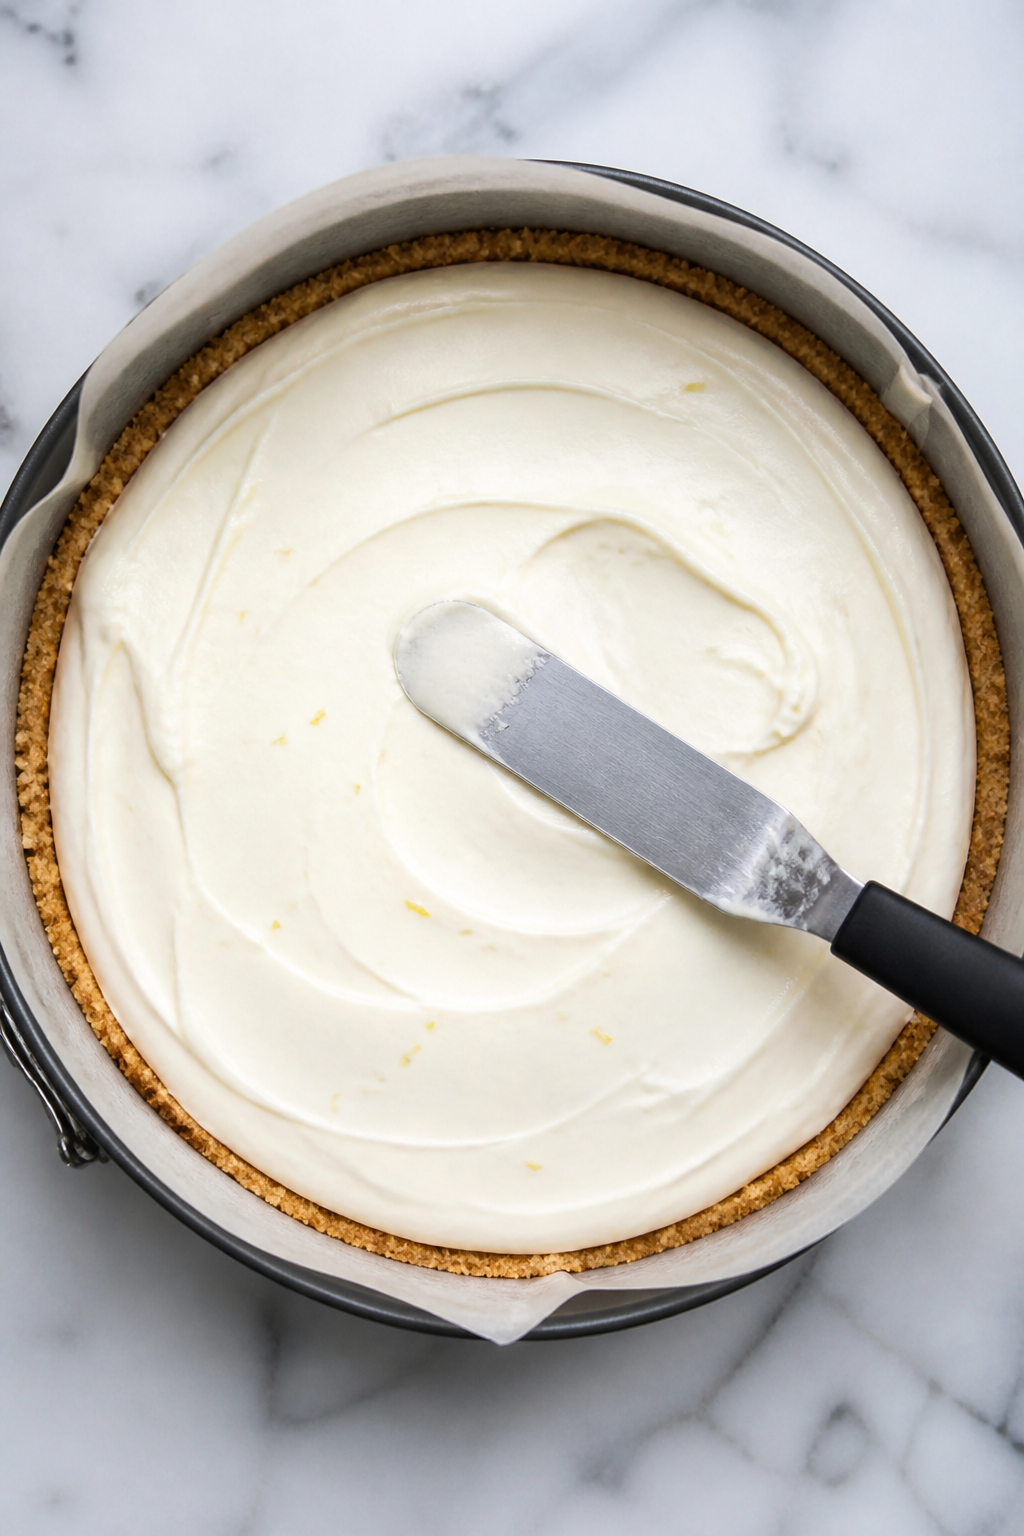
- Assemble: Pour the filling over the chilled crust. Smooth the top with an offset spatula.
- Chill to set: Cover and refrigerate for at least 4 hours, ideally overnight, until firm enough to slice cleanly.
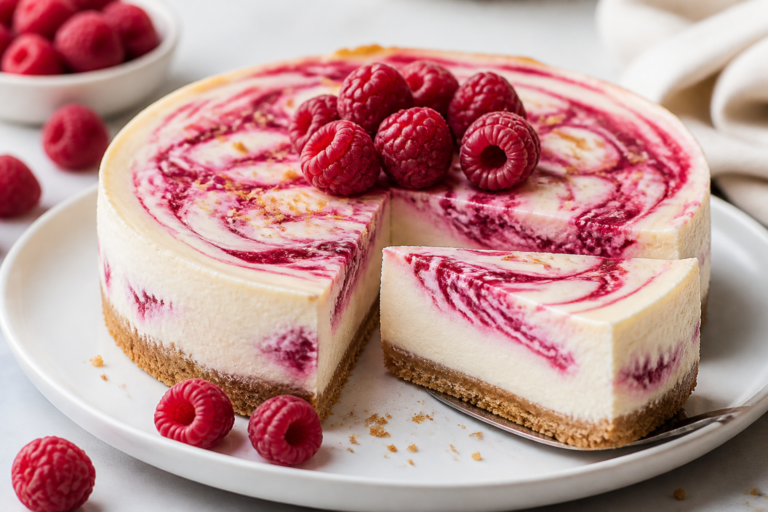
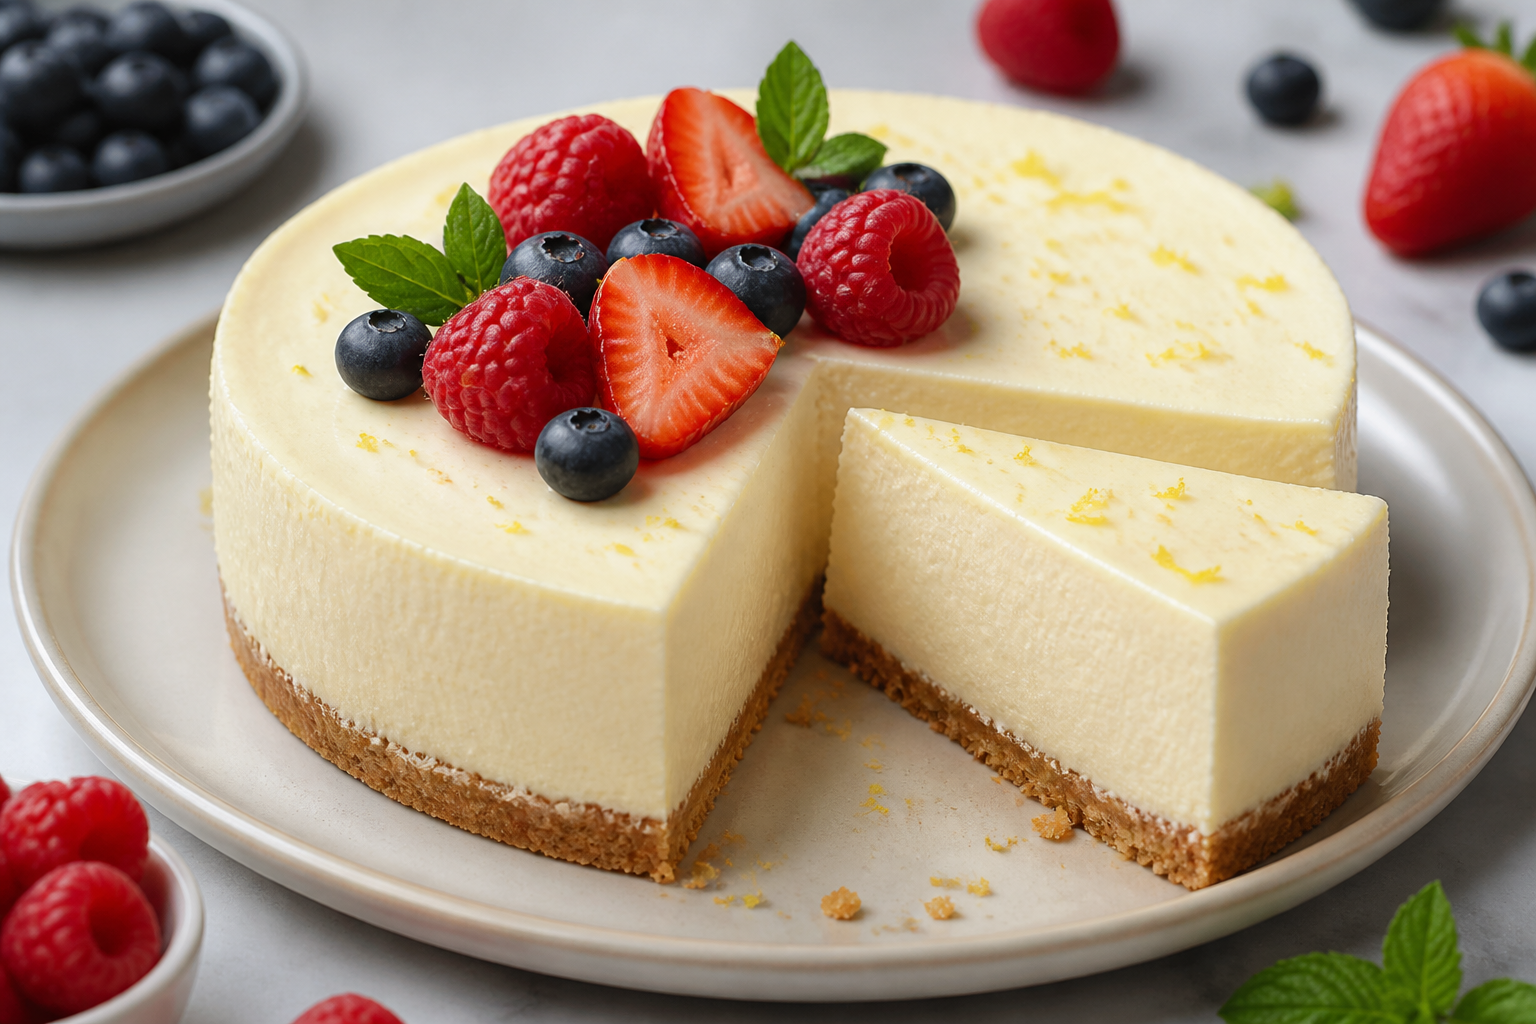
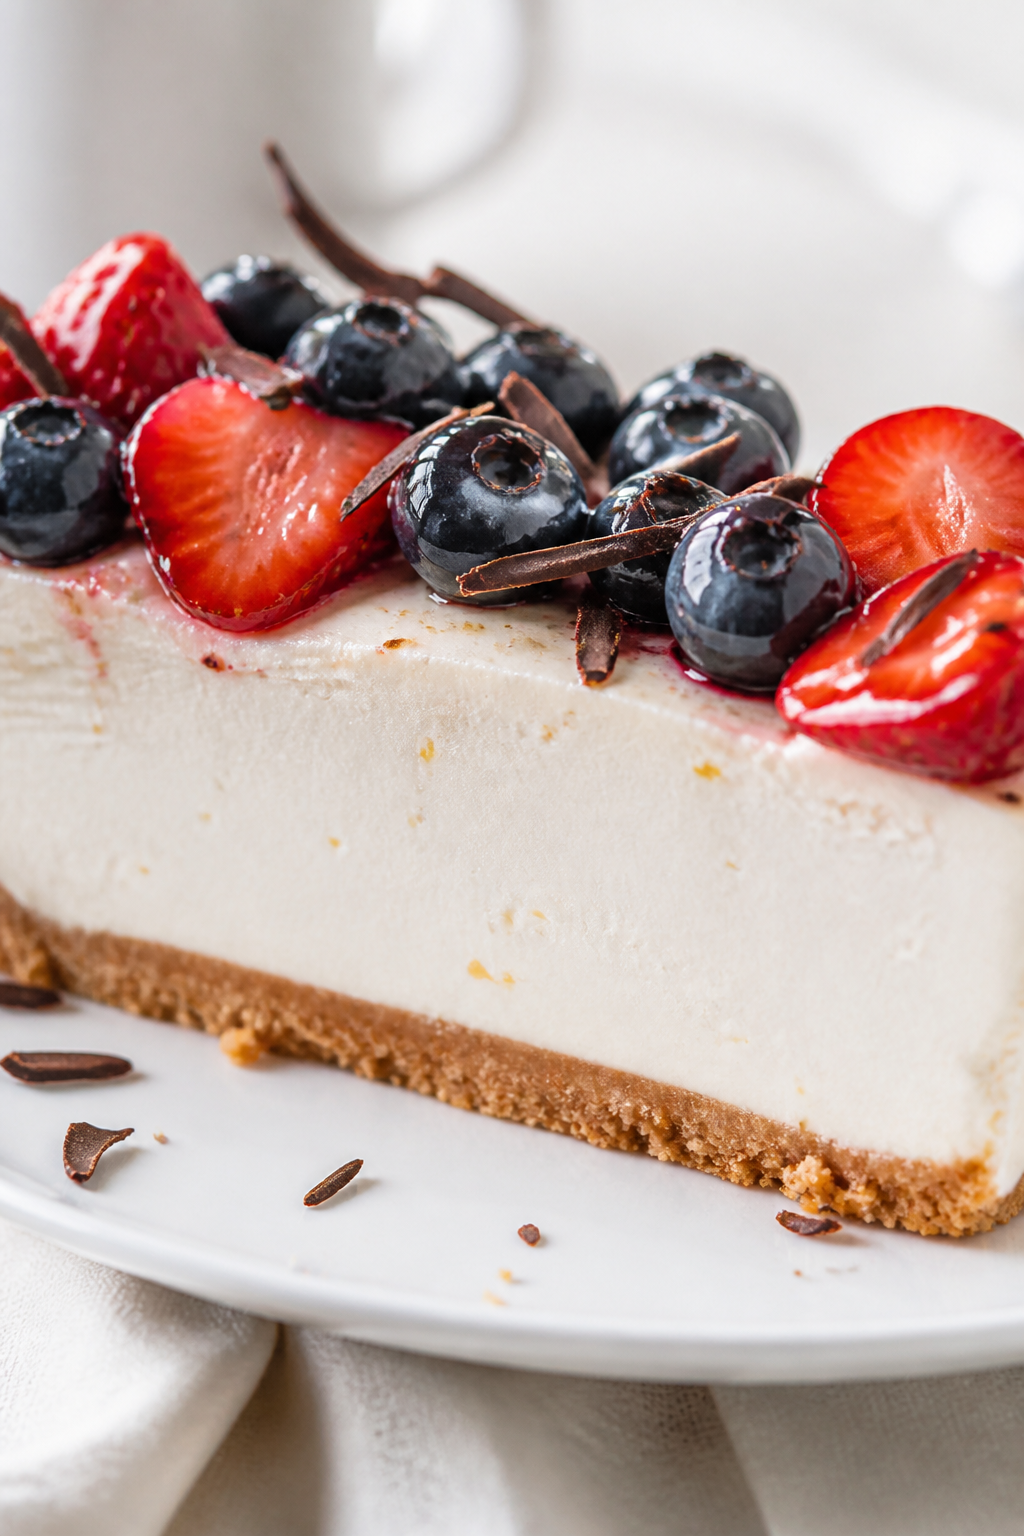
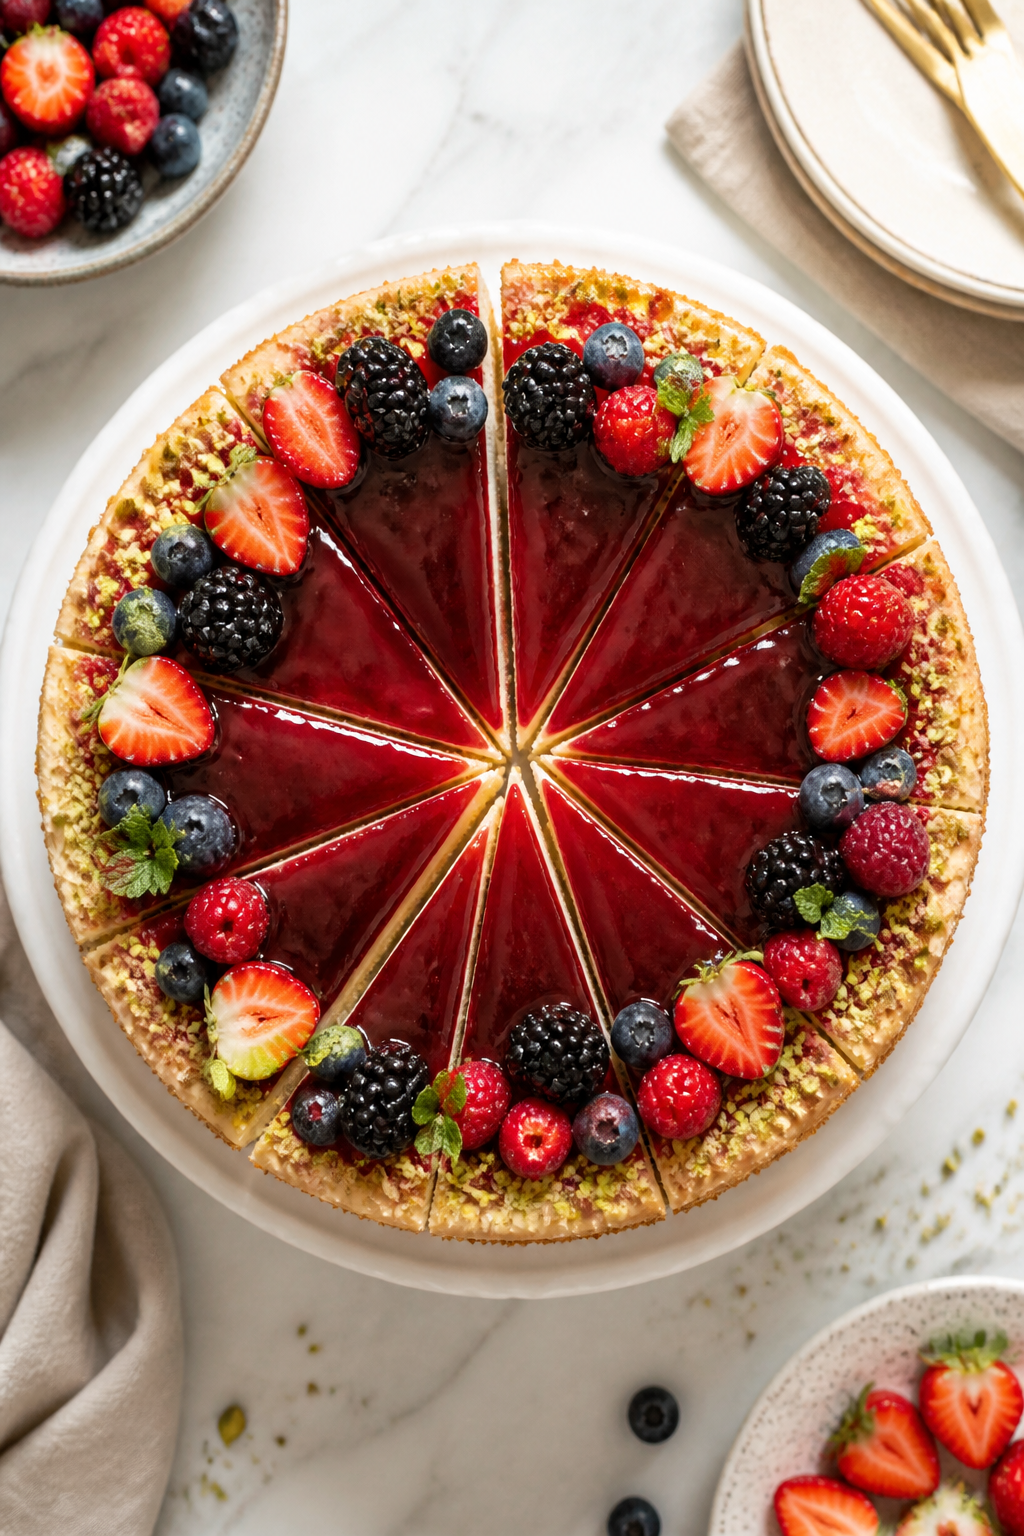
- Finish and serve: Run a thin knife around the edge, release the springform, and transfer to a serving plate. Add berries, a little jam, or chocolate shavings. Slice with a warm, dry knife for neat edges.
What Makes This Recipe So Good
- No baking required: Everything sets in the fridge. You can make it in the morning and enjoy it after dinner.
- High in protein: A mix of Greek yogurt and light cream cheese boosts protein while keeping it creamy.
- Light but satisfying: It’s rich without feeling heavy.
Great for a sweet bite that actually keeps you full.
- Customizable: Change the crust, flavors, or toppings to fit your taste and nutrition goals.
- Make-ahead friendly: It sets beautifully and holds its shape for days in the fridge.
What You’ll Need
- For the crust:
- 1 1/2 cups crushed graham crackers or oat biscuits (gluten-free if needed)
- 3 tablespoons melted butter (or coconut oil for a dairy-free crust)
- 1 tablespoon maple syrup or honey (optional, for extra hold and sweetness)
- Pinch of salt
- For the filling:
- 12 ounces (340 g) light cream cheese, softened
- 1 1/2 cups plain 2% Greek yogurt (or skyr for extra thickness)
- 1/2 cup vanilla whey or casein protein powder (plant-based works too; see tips below)
- 1/3 to 1/2 cup powdered sweetener of choice (powdered sugar, allulose, or a blend; adjust to taste)
- 2 teaspoons vanilla extract
- 1 tablespoon lemon juice
- 2 teaspoons lemon zest (optional, but brightens the flavor)
- 1 packet (about 2 1/2 teaspoons) unflavored gelatin or 1 tablespoon powdered agar-agar for a vegetarian option
- 1/4 cup water or milk for blooming the gelatin
- Pinch of salt
- For topping (optional):
- Fresh berries
- 2 tablespoons warmed fruit jam for a glossy finish
- Shaved dark chocolate or crushed nuts
Step-by-Step Instructions
- Prep the pan: Line the bottom of an 8- or 9-inch springform pan with parchment. Lightly grease the sides so the cheesecake releases cleanly.
- Make the crust: In a bowl, mix crushed crackers, melted butter, maple syrup, and a pinch of salt until the texture resembles wet sand. Press firmly and evenly into the pan using the bottom of a glass.
Chill while you make the filling.
- Bloom the gelatin: In a small bowl, sprinkle gelatin over 1/4 cup cold water or milk. Let it sit 5 minutes. Then gently warm in the microwave for 10–15 seconds or in a small pot until just dissolved.
Do not boil.
- Beat the cream cheese: In a large bowl, beat softened cream cheese with a hand mixer until smooth and lump-free, about 1–2 minutes.
- Add yogurt and flavorings: Mix in Greek yogurt, vanilla, lemon juice, and zest. Blend until creamy.
- Sweeten and add protein: Whisk in the powdered sweetener and protein powder. Start on low speed, then increase.
Scrape the bowl to avoid dry pockets. Taste and adjust sweetness.
- Incorporate gelatin: With the mixer running on low, slowly pour in the warm dissolved gelatin. Mix until fully combined.
The filling should be silky and slightly thick.
- Assemble: Pour the filling over the chilled crust. Smooth the top with an offset spatula.
- Chill to set: Cover and refrigerate for at least 4 hours, ideally overnight, until firm enough to slice cleanly.
- Finish and serve: Run a thin knife around the edge, release the springform, and transfer to a serving plate. Add berries, a little jam, or chocolate shavings.
Slice with a warm, dry knife for neat edges.
How to Store
- Refrigerate: Cover and keep in the fridge for up to 4–5 days. The texture actually improves after the first day.
- Freeze: Slice and freeze individual pieces on a sheet tray, then wrap tightly. Store up to 2 months.
Thaw overnight in the fridge for best texture.
- Avoid condensation: If storing with a lid, place a paper towel between the cheesecake and lid to catch moisture.
Why This is Good for You
- Protein for satiety: Greek yogurt and protein powder add staying power, which can help reduce late-night snacking.
- Balanced macros: You get a mix of protein, some healthy fats, and controlled carbs, especially if you choose a lower-sugar sweetener and a nut-based crust.
- Less sugar, big flavor: Using vanilla, lemon zest, and a touch of salt amplifies sweetness without relying on a lot of sugar.
- Customizable for dietary needs: It’s easy to make gluten-free, lower-carb, or dairy-reduced by swapping a few ingredients.
Pitfalls to Watch Out For
- Lumpy filling: Start with room-temperature cream cheese and sift protein powder if it tends to clump. Scrape the bowl often.
- Rubbery texture: Use the right amount of gelatin and don’t boil it. Too much or overheated gelatin can get bouncy.
- Watery cheesecake: Avoid regular yogurt.
Use thick Greek yogurt or strain it to remove excess whey.
- Crust crumbling: Press the crust firmly and use enough fat to bind. A tablespoon of syrup or honey helps it hold together.
- Overpowering protein flavor: Choose a neutral or vanilla protein. Taste the batter and add extra vanilla or lemon if needed.
Recipe Variations
- Chocolate swirl: Melt 2 ounces dark chocolate.
After pouring the filling, spoon lines of melted chocolate on top and swirl with a knife.
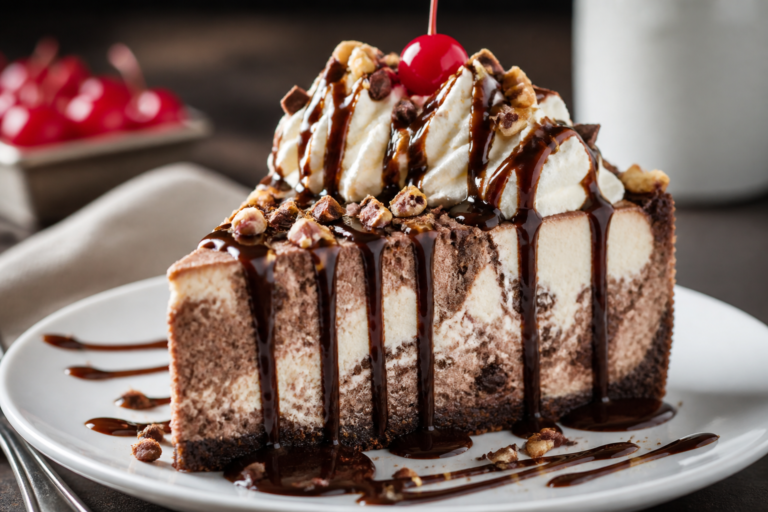
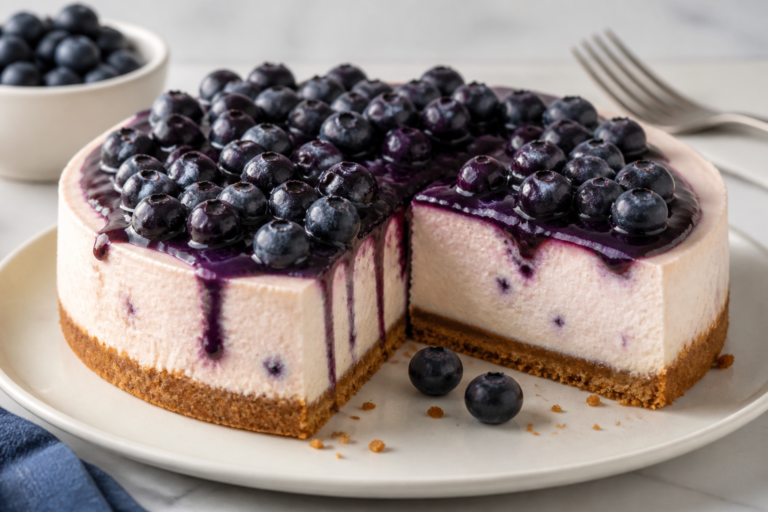
- Berry burst: Fold 1 cup chopped strawberries or blueberries into the filling. Pat them dry first to avoid extra moisture.
- Peanut butter: Blend 1/3 cup natural peanut butter into the filling. Top with crushed peanuts and a light chocolate drizzle.
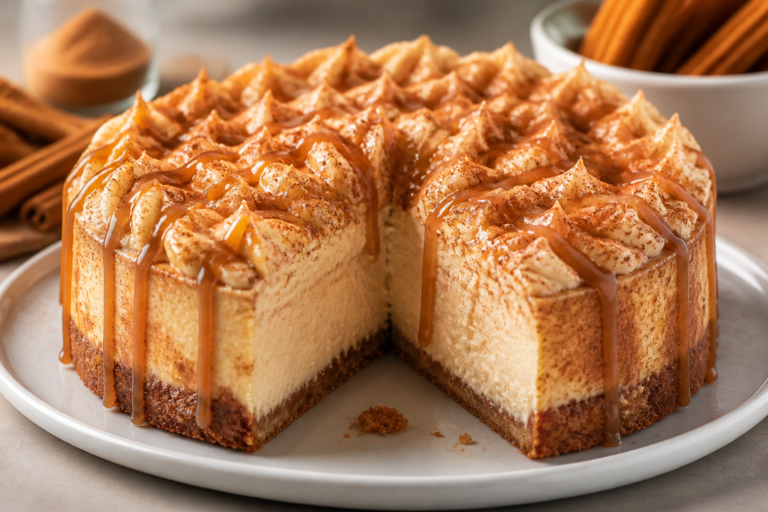
- Lemon poppy seed: Add 2 additional tablespoons lemon juice, more zest, and 1 tablespoon poppy seeds.
Increase sweetener slightly to balance.
- Cookie crust twist: Use chocolate wafer cookies or high-fiber biscuits for a deeper flavor and a bit more crunch.
- Lower-carb option: Make an almond flour crust (1 1/2 cups almond flour, 3 tablespoons butter, 1 tablespoon sweetener, pinch of salt). Use an allulose or erythritol blend in the filling.
- Dairy-light version: Use lactose-free cream cheese and skyr, or swap coconut yogurt and a plant-based cream cheese. Use agar-agar instead of gelatin.
FAQ
Can I make this without gelatin?
Yes.
Use 1 tablespoon agar-agar powder dissolved and simmered in 1/2 cup water for 2–3 minutes, then cool slightly before adding. The texture will be a bit firmer and more sliceable.
What protein powder works best?
Whey or casein blends work well for creaminess. Plant-based powders can be used, but choose a fine, smooth one.
You may need 1–2 tablespoons extra liquid if the batter gets too thick.
How do I keep it from tasting “diet-y”?
Use vanilla extract, lemon zest, and a pinch of salt. Don’t skip the fat entirely—light cream cheese keeps it creamy without feeling heavy. Adjust sweetness to your preference and add a fruit topping.
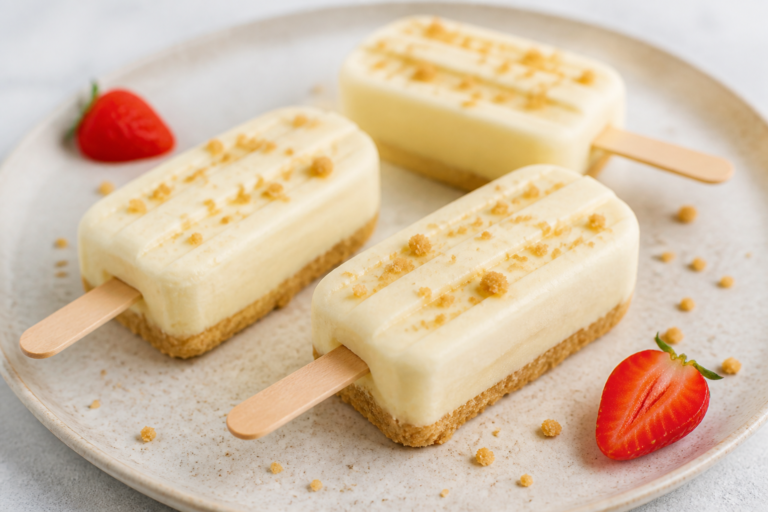
Can I make mini cheesecakes?
Absolutely.
Press crust into a lined muffin tin, add filling, and chill. They set faster—about 2–3 hours. Great for portion control and easy serving.
What if I don’t have a springform pan?
Use an 8×8-inch square pan lined with a parchment sling.
Lift out and slice into bars after chilling. Works just as well.
How much protein is in a slice?
It varies by ingredients, but with Greek yogurt, light cream cheese, and whey protein, expect roughly 12–18 grams per slice when cut into 10 pieces.
Can I use flavored yogurt?
You can, but reduce added sweetener. Flavored yogurts can be sweeter and looser, so check thickness and adjust with a bit more protein powder if needed.
Final Thoughts
This no-bake high protein cheesecake brings together the comfort of a classic dessert with the balance you want from an everyday treat.
It’s easy to make, easy to adjust, and easy to love. Keep it simple with vanilla and berries, or dress it up with chocolate, citrus, or nuts. Once you try it, you’ll have a reliable, make-ahead dessert that fits both weeknights and celebrations.
Keep a few slices in the freezer, and you’re never far from a satisfying, feel-good dessert.
Printable Recipe Card
Want just the essential recipe details without scrolling through the article? Get our printable recipe card with just the ingredients and instructions.