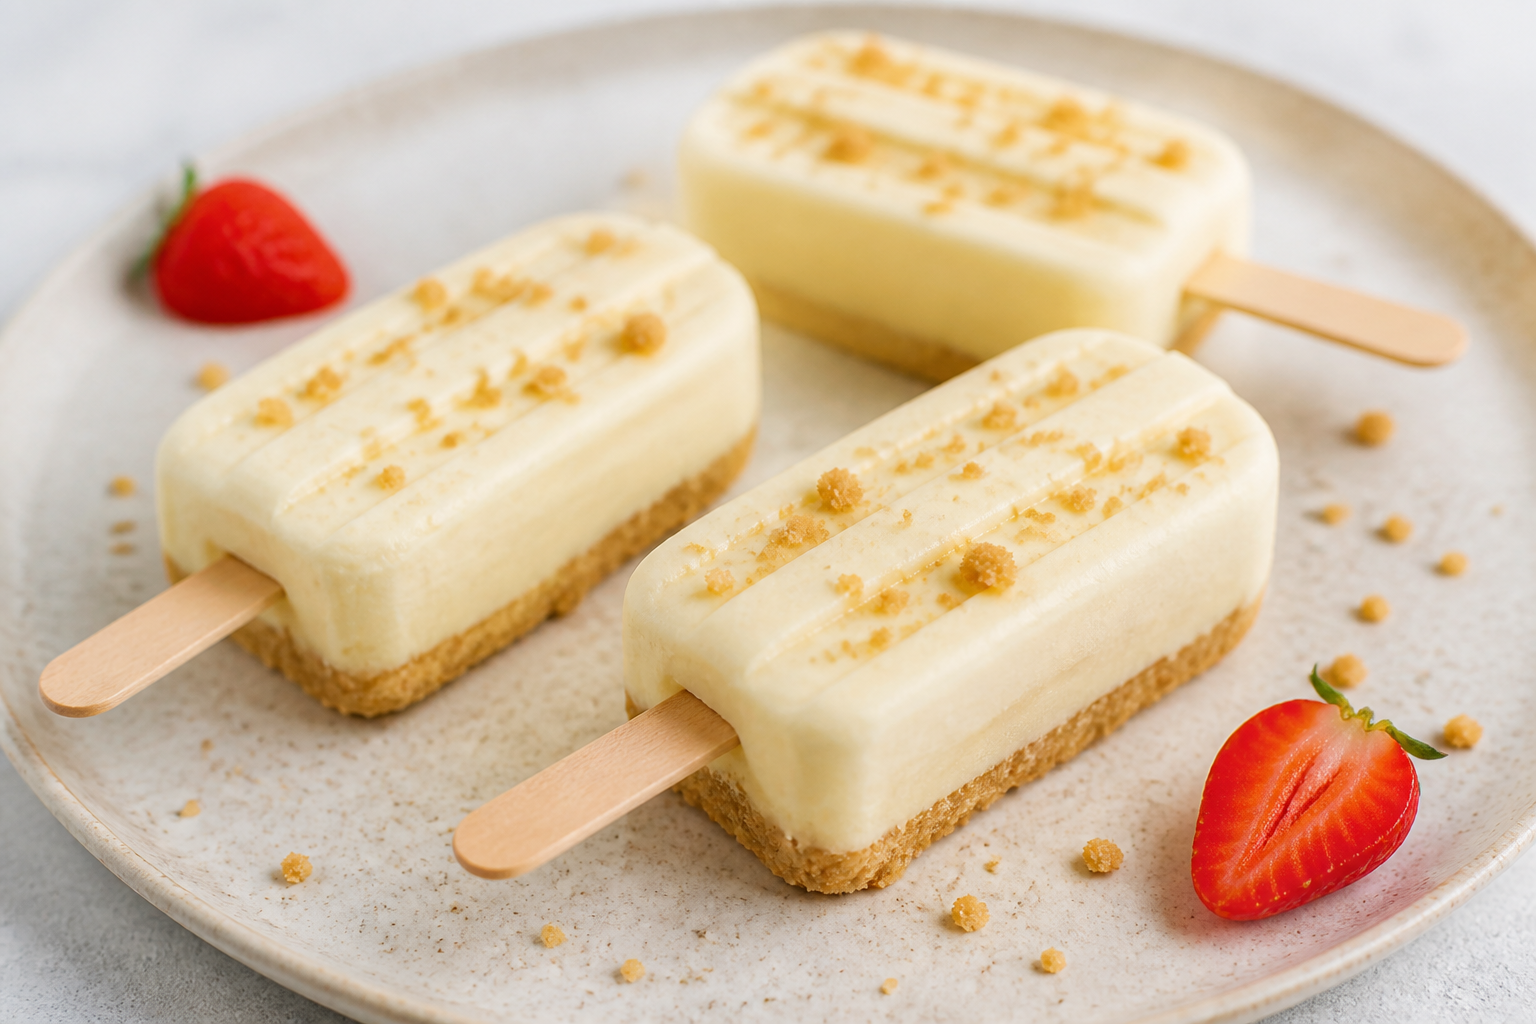
High Protein Cheesecake Popsicles – Creamy, Cold, and Satisfying
These popsicles taste like a slice of creamy cheesecake on a stick, but they’re surprisingly light and packed with protein. They’re easy to make, require no baking, and feel like a treat you can enjoy any day of the week. If you’re craving dessert without the sugar crash, this recipe hits the sweet spot.
You can mix and pour in under 10 minutes, then let the freezer do the rest. Kids love them, adults love them, and they’re a smart swap for store-bought ice cream bars.
Ingredients
Method
- Soften and prep: Let the cream cheese sit at room temperature for 20–30 minutes. This helps it blend smoothly.
- Blend the base: In a blender or food processor, add cream cheese, Greek yogurt, protein powder, sweetener, vanilla, lemon juice, and salt. Pour in 1/3 cup milk.
- Adjust texture: Blend until silky. If it’s too thick to pour, add milk 1 tablespoon at a time. Aim for a thick smoothie consistency that still flows.
- Taste and tweak: Check sweetness and tang. Add a little more lemon for brightness or sweetener for a classic cheesecake vibe.
- Optional crust layer: Stir crushed graham crackers with melted butter until sandy. Spoon a teaspoon into each popsicle mold. Lightly press down.
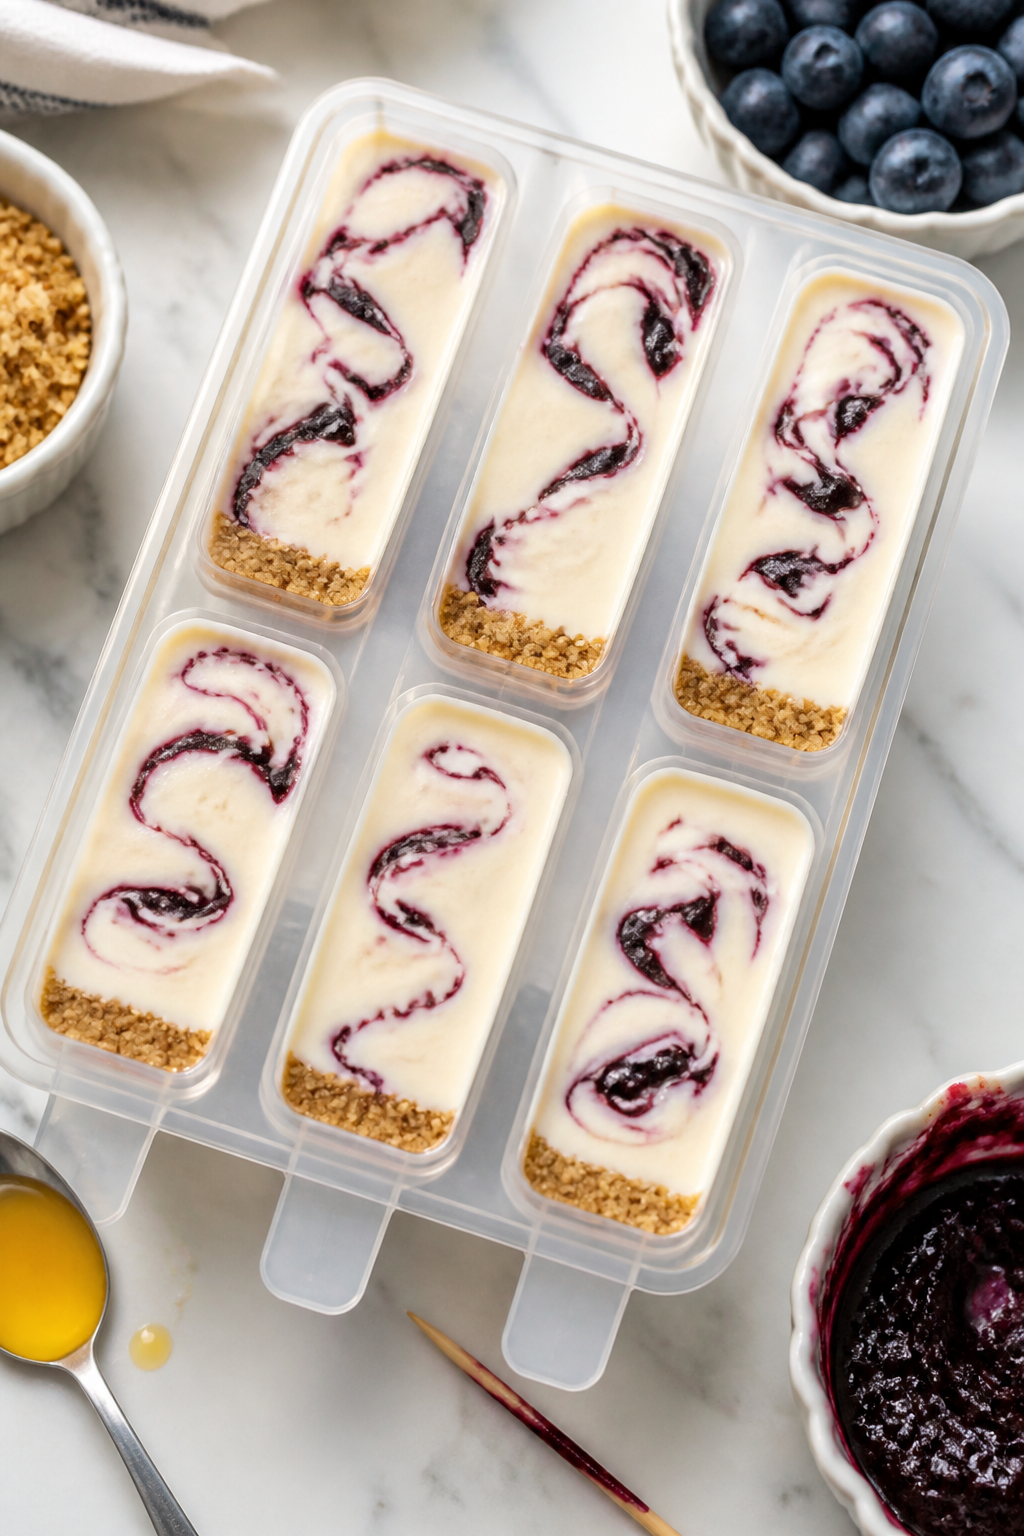
- Fill the molds: Pour the cheesecake mixture into popsicle molds, leaving about 1/4 inch at the top for expansion. Tap the mold gently to release air bubbles.
- Add mix-ins: If using berries, chips, or jam, add small amounts to each cavity and swirl with a skewer for ribbons.
- Insert sticks and freeze: Add sticks and freeze for at least 6 hours, preferably overnight, until completely solid.
- Unmold: Run warm water over the outside of the mold for 10–20 seconds. Wiggle the sticks gently to release.
- Serve or store: Enjoy right away or transfer to an airtight container with parchment between layers.
Why This Recipe Works
Protein-forward and satisfying: Using Greek yogurt and a touch of protein powder gives these popsicles staying power without tasting chalky.
Cheesecake flavor, minus the fuss: Cream cheese brings classic tang and creaminess, while a splash of lemon and vanilla rounds it out.
Balanced sweetness: A small amount of sweetener keeps it dessert-like without overloading on sugar.
Freezer-friendly: Perfect for meal prep—make a batch and grab one whenever you want a cool, creamy snack.
Ingredients
- 8 oz (225 g) reduced-fat cream cheese, softened
- 1 1/2 cups (340 g) plain Greek yogurt (2% or 5% for best texture)
- 1 scoop (about 25–30 g) vanilla whey or casein protein powder (or a neutral-tasting plant protein)
- 1/3 to 1/2 cup granulated sweetener of choice (sugar, maple syrup, honey, or a zero-calorie sweetener)
- 2 teaspoons pure vanilla extract
- 1–2 tablespoons fresh lemon juice (to taste)
- 1/8 teaspoon fine salt
- 1/3 cup milk (dairy or unsweetened almond milk), plus more as needed for consistency
- Optional “crust” swirl: 1/2 cup crushed graham crackers or high-protein granola + 1–2 teaspoons melted butter or coconut oil
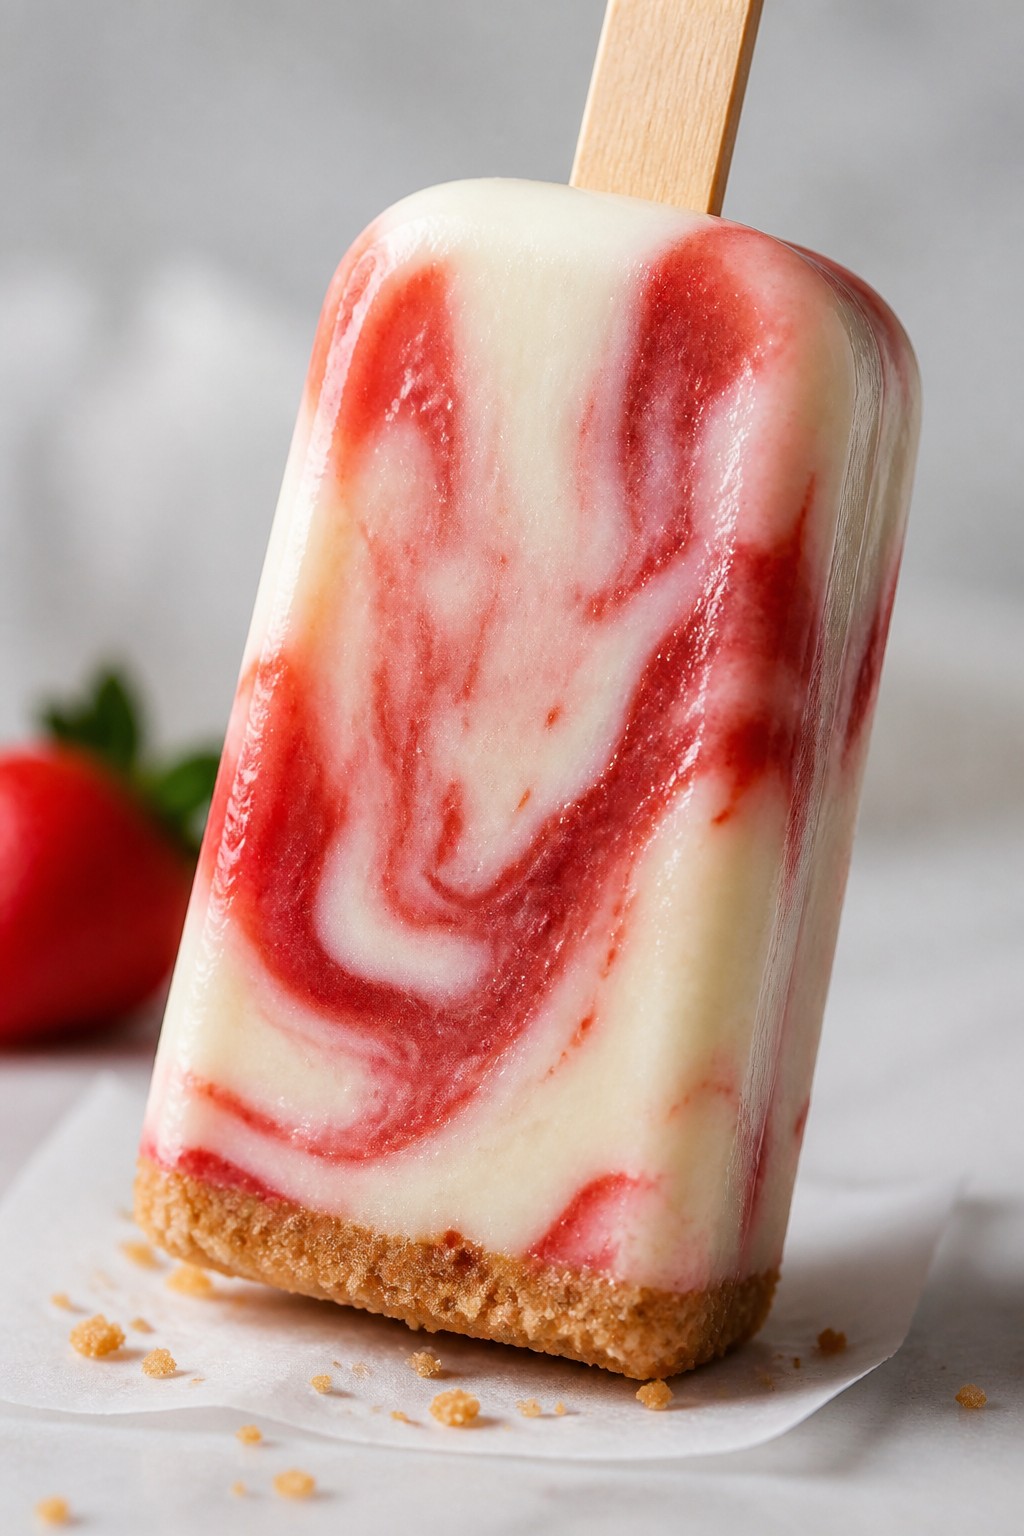
- Optional add-ins: fresh berries, mini chocolate chips, or a tablespoon of strawberry or blueberry jam for ribbons
How to Make It
- Soften and prep: Let the cream cheese sit at room temperature for 20–30 minutes. This helps it blend smoothly.
- Blend the base: In a blender or food processor, add cream cheese, Greek yogurt, protein powder, sweetener, vanilla, lemon juice, and salt.
Pour in 1/3 cup milk.
- Adjust texture: Blend until silky. If it’s too thick to pour, add milk 1 tablespoon at a time. Aim for a thick smoothie consistency that still flows.
- Taste and tweak: Check sweetness and tang.
Add a little more lemon for brightness or sweetener for a classic cheesecake vibe.
- Optional crust layer: Stir crushed graham crackers with melted butter until sandy. Spoon a teaspoon into each popsicle mold. Lightly press down.
- Fill the molds: Pour the cheesecake mixture into popsicle molds, leaving about 1/4 inch at the top for expansion.
Tap the mold gently to release air bubbles.
- Add mix-ins: If using berries, chips, or jam, add small amounts to each cavity and swirl with a skewer for ribbons.
- Insert sticks and freeze: Add sticks and freeze for at least 6 hours, preferably overnight, until completely solid.
- Unmold: Run warm water over the outside of the mold for 10–20 seconds. Wiggle the sticks gently to release.
- Serve or store: Enjoy right away or transfer to an airtight container with parchment between layers.
Storage Instructions
- Freeze: Keep popsicles in a sealed freezer bag or container for up to 2 months to prevent freezer burn.
- Individually wrap: For best texture, wrap each pop in parchment or plastic to avoid ice crystals.
- Thawing tip: If they’re very firm, let a pop sit at room temperature for 3–5 minutes before eating.
Health Benefits
- High protein: Greek yogurt and protein powder make these more filling than a typical frozen treat, which can help with appetite control.
- Better-for-you fats: Using reduced-fat cream cheese keeps creaminess while balancing calories. You can also use full-fat for extra richness if it fits your goals.
- Lower sugar option: Choose a zero-calorie sweetener or keep added sugar modest without sacrificing flavor.
- Probiotics: Greek yogurt provides live cultures that may support gut health, depending on the brand.
- Customizable nutrition: Add berries for antioxidants, or choose a lactose-free yogurt and milk if needed.
What Not to Do
- Don’t skip softening the cream cheese. Cold, firm cream cheese leads to lumps and a grainy texture.
- Don’t over-thin the mixture. Too much liquid creates icy pops instead of creamy ones.
- Don’t overload mix-ins. Large chunks can create weak spots that break when unmolding.
- Don’t use only water as the liquid. A bit of milk adds body and helps prevent iciness.
- Don’t rush the freeze time. Pulling them early makes sticks slide out and texture suffer.
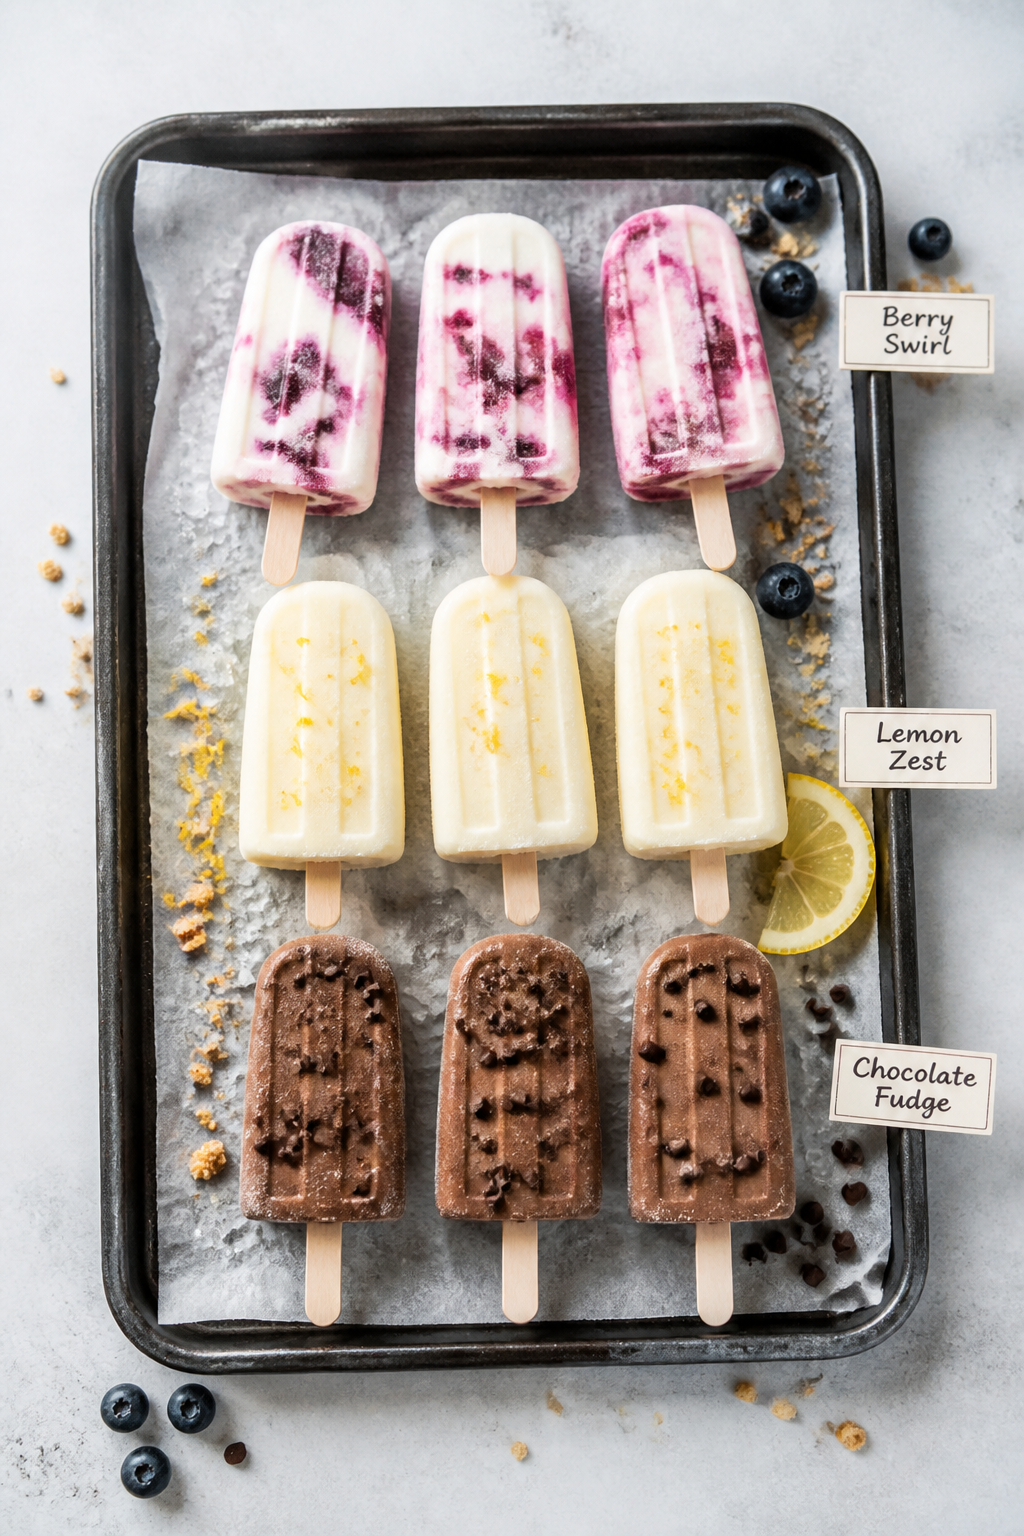
Variations You Can Try
- Berry Swirl: Layer spoonfuls of strawberry or blueberry jam and swirl with a skewer.
- Lemon Cheesecake: Add extra lemon zest and 1 more tablespoon of lemon juice; sweeten slightly more to balance.
- Chocolate Fudge: Swap vanilla protein for chocolate, add 1 tablespoon cocoa powder, and a handful of mini chips.
- Cookies & Cream: Stir in crushed high-protein cookies or chocolate sandwich cookies.
- Salted Caramel: Use caramel-flavored protein and drizzle a thin line of caramel sauce in each mold; finish with a pinch of flaky salt.
- Key Lime: Replace lemon with lime juice and zest; add a light graham crust layer.
- Dairy-Free: Use dairy-free cream cheese, coconut or almond milk yogurt, and a plant-based protein.
FAQ
Can I make these without protein powder?
Yes.
Skip the protein powder and add an extra 1/4 cup Greek yogurt for thickness. You may want a touch more vanilla for flavor.
Which protein powder works best?
Whey or a whey–casein blend yields the creamiest texture. Plant-based powders work too, but choose a smooth, neutral brand and blend well to avoid grit.
How do I prevent icy popsicles?
Keep the base thick, use dairy or a creamy dairy-free milk, and avoid adding too much water.
A small amount of fat from cream cheese and yogurt keeps the texture lush.
Can I use flavored Greek yogurt?
Absolutely. It will add sweetness and flavor. Reduce added sweetener to taste so it doesn’t end up too sweet.
What if I don’t have popsicle molds?
Use small paper cups.
Fill, cover with foil, poke a slit, insert sticks, and freeze. Peel away the cups to serve.
Are these suitable for kids?
Yes, just use a kid-friendly sweetener and avoid protein powders with added stimulants. Check the ingredient list of your protein powder to be safe.
How much protein is in each pop?
It varies by brand and size, but with Greek yogurt and one scoop of protein powder, most standard molds yield about 8–12 grams of protein per pop.
Can I cut the calories further?
Use nonfat Greek yogurt, reduced-fat cream cheese, and a zero-calorie sweetener.
Note that a bit of fat helps with creaminess, so adjust to your preference.
Do these taste tangy like cheesecake?
Yes, the cream cheese and lemon bring classic cheesecake tang. Adjust lemon juice and sweetener to hit your favorite balance.
Final Thoughts
High Protein Cheesecake Popsicles give you the best parts of dessert—creaminess, flavor, and a little indulgence—without the wait or the oven. They’re simple to prep, endlessly customizable, and great for keeping on hand when a craving hits.
Make a batch this week, try a new variation next time, and enjoy a cool treat that actually leaves you satisfied.
Printable Recipe Card
Want just the essential recipe details without scrolling through the article? Get our printable recipe card with just the ingredients and instructions.