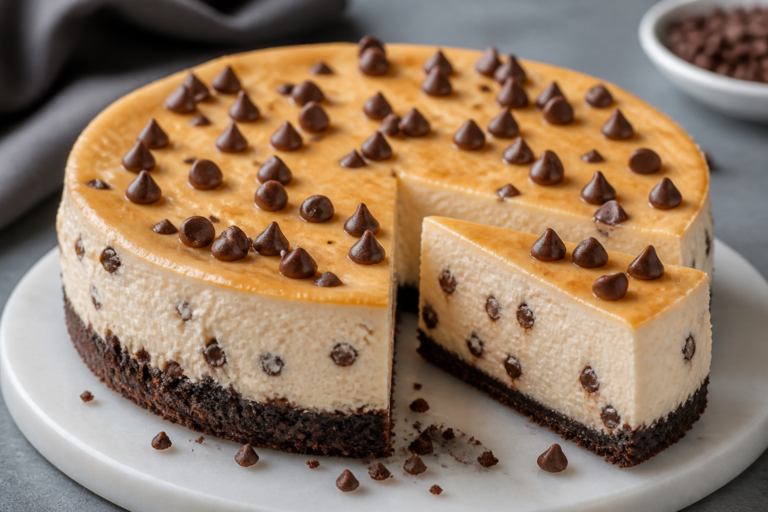
High Protein Chocolate Cheesecake – Rich Flavor With A Lighter Twist
Chocolate cheesecake usually feels like a once-in-a-while indulgence, but this version changes the game. It’s creamy, deeply chocolaty, and sweet enough to satisfy a late-night craving, yet it packs a serious protein punch. You get the texture you love without the sugar crash or heavy feeling later.
Whether you’re chasing a fitness goal or just want a smarter dessert, this cheesecake fits right in. It’s also simple to make and surprisingly forgiving, even if you’re not an avid baker.
Ingredients
Method
- Prep the pan. Line the bottom of a 9-inch springform pan with parchment. Lightly grease the sides. Preheat oven to 325°F (163°C). Set a rack in the lower-middle position.
- Make the crust. In a bowl, mix crumbs, almond flour, cocoa, sweetener, and salt. Stir in melted butter or oil until the texture resembles damp sand. Press firmly into the pan, going slightly up the sides. Bake 8–10 minutes, then cool while you make the filling.
- Soften and smooth. Beat cream cheese on medium speed until velvety and lump-free, about 2 minutes. Scrape the bowl well. Add Greek yogurt and beat again until smooth.
- Sweeten it right. Add sugar, zero-calorie sweetener, vanilla, and salt. Beat on low until combined. Taste and adjust sweetness now, before adding eggs and chocolate.
- Add the chocolate power. Beat in cocoa and protein powder on low. Pour in the melted, slightly cooled dark chocolate and mix just until uniform. If the batter seems too thick, add 1–3 tablespoons milk to loosen. Avoid overmixing.
- Eggs go last. Add eggs one at a time on low speed, mixing just until incorporated. Overbeating adds air, which can cause cracks.
- Pour and smooth. Pour filling over the crust. Tap the pan gently on the counter to release air bubbles. Run a knife through the batter in a few swirls to pop any hidden pockets of air.
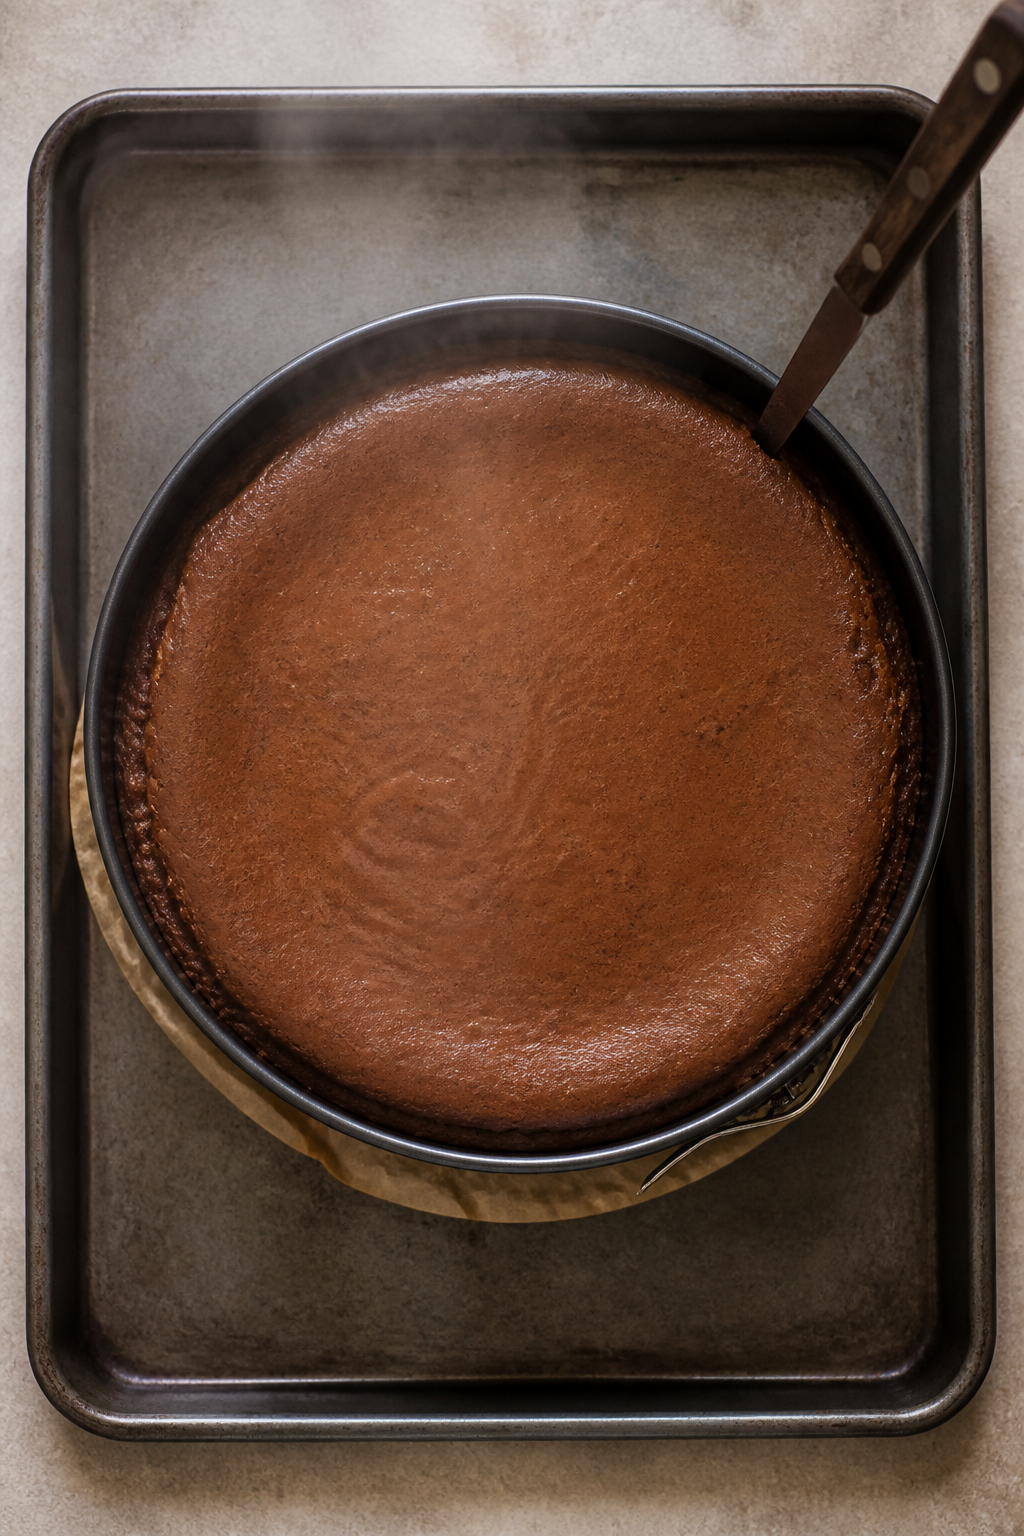
- Create a gentle bake. Place the springform on a sheet pan. Bake 45–55 minutes, until the edges are set and the center wobbles like gelatin, not soup. If it’s browning too quickly, tent loosely with foil.
- Cool it right. Turn off the oven, crack the door slightly, and let the cheesecake rest inside for 45 minutes. This gradual cooldown helps prevent cracks.
- Chill completely. Transfer to a rack to reach room temperature. Then cover and refrigerate at least 6 hours, preferably overnight. The texture improves as it chills.
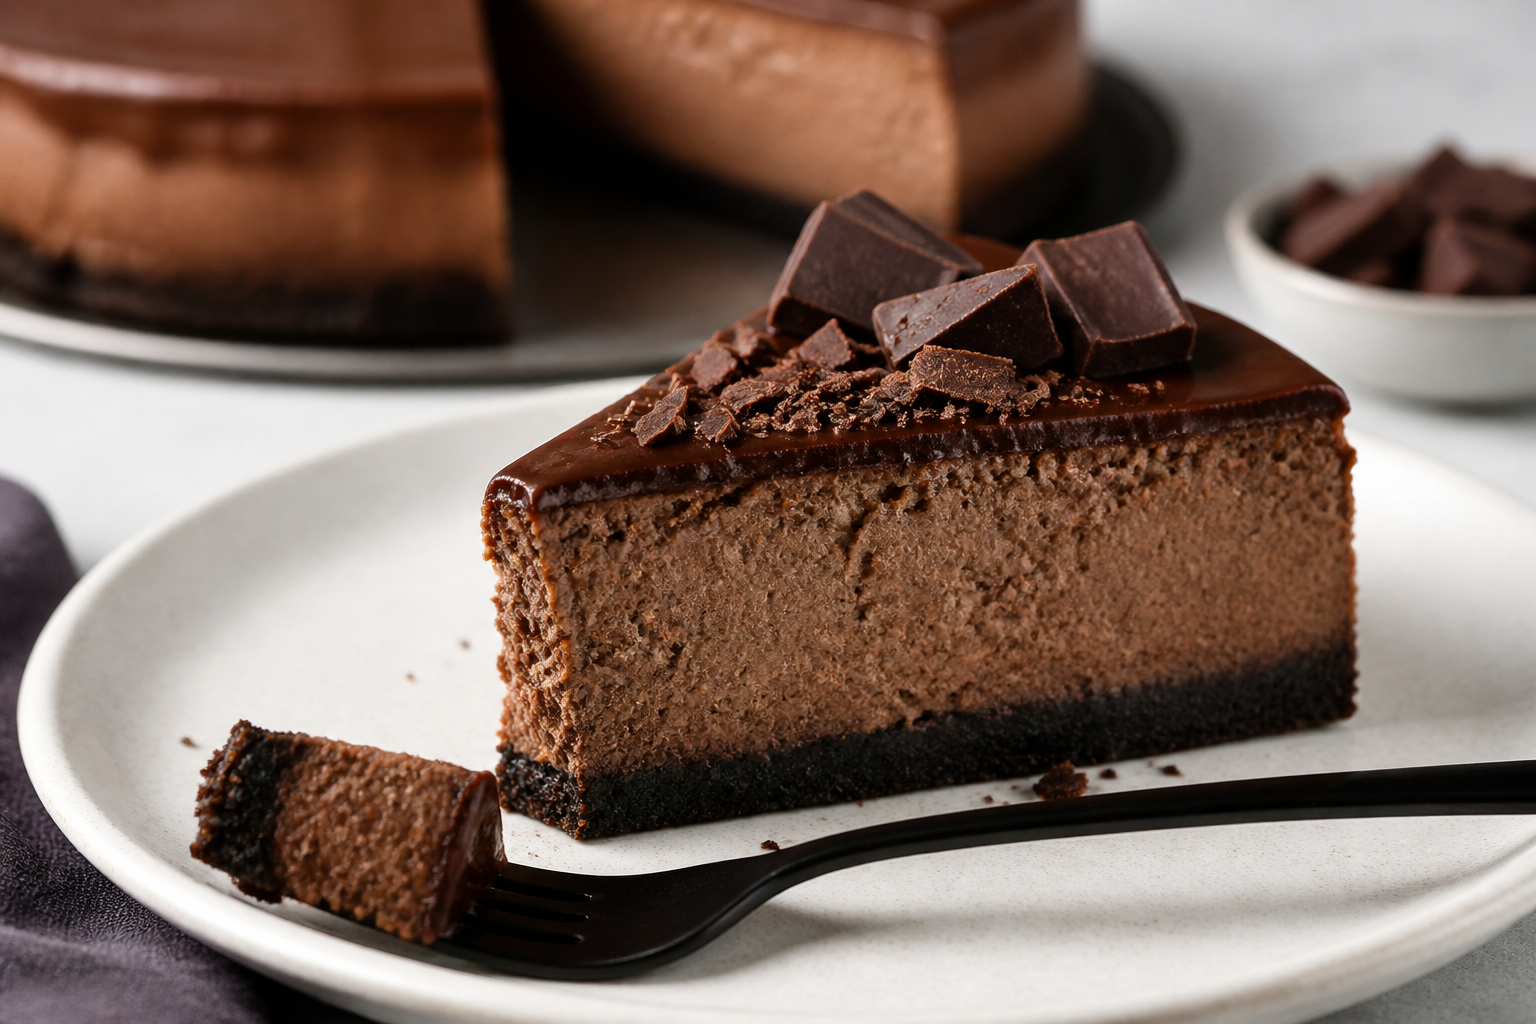
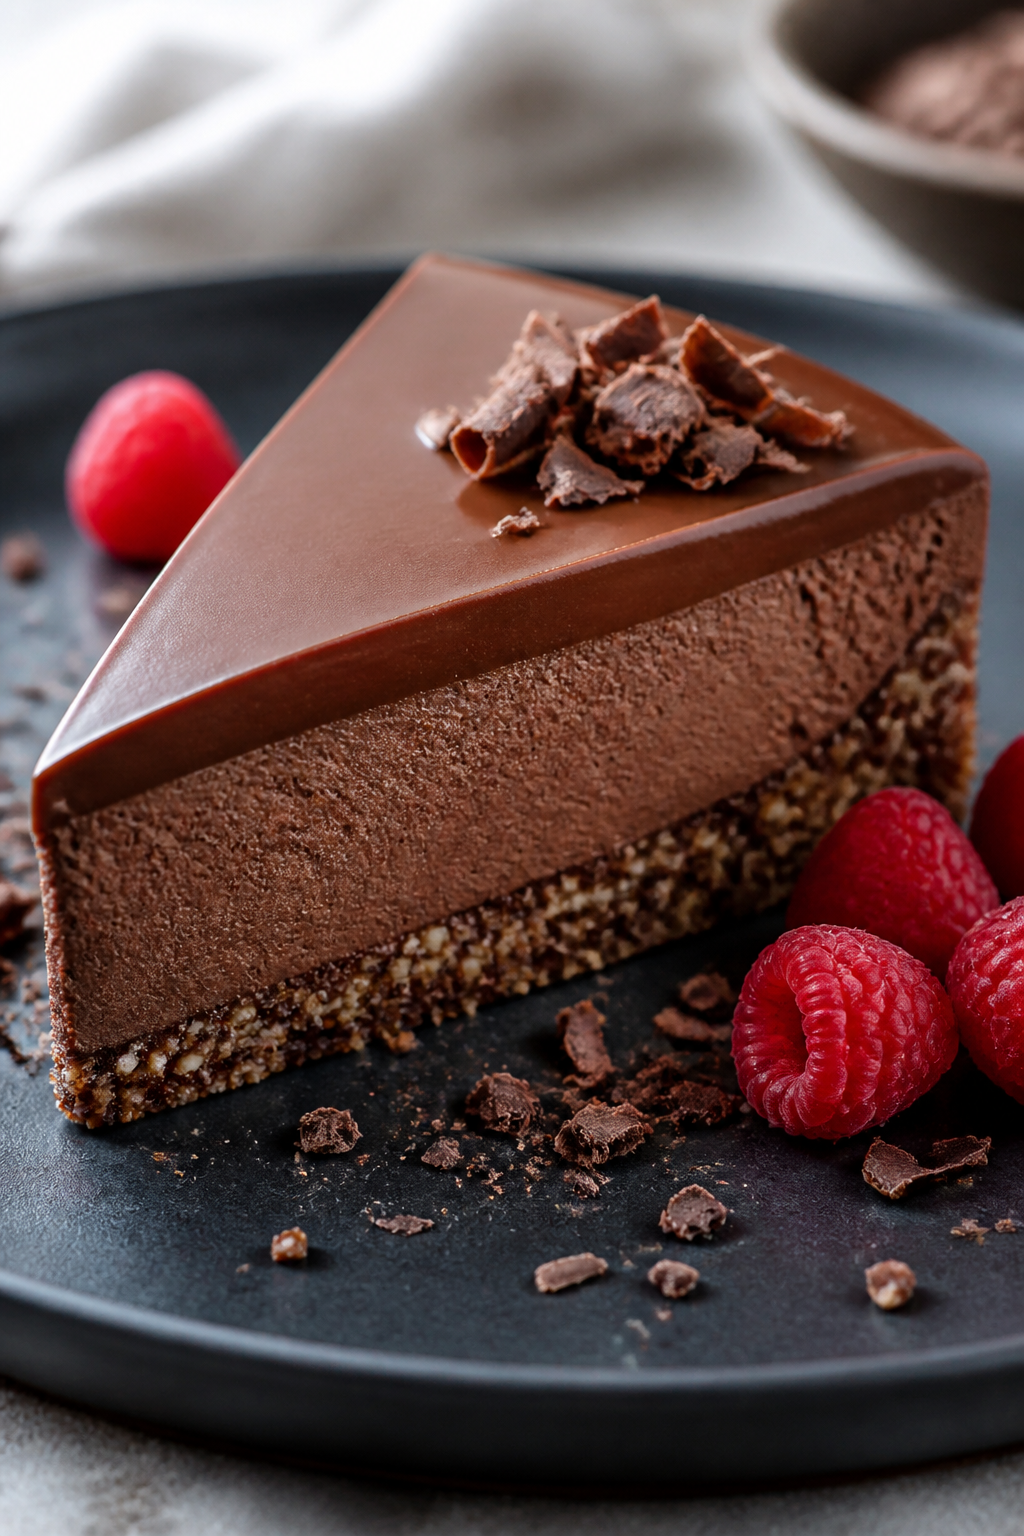
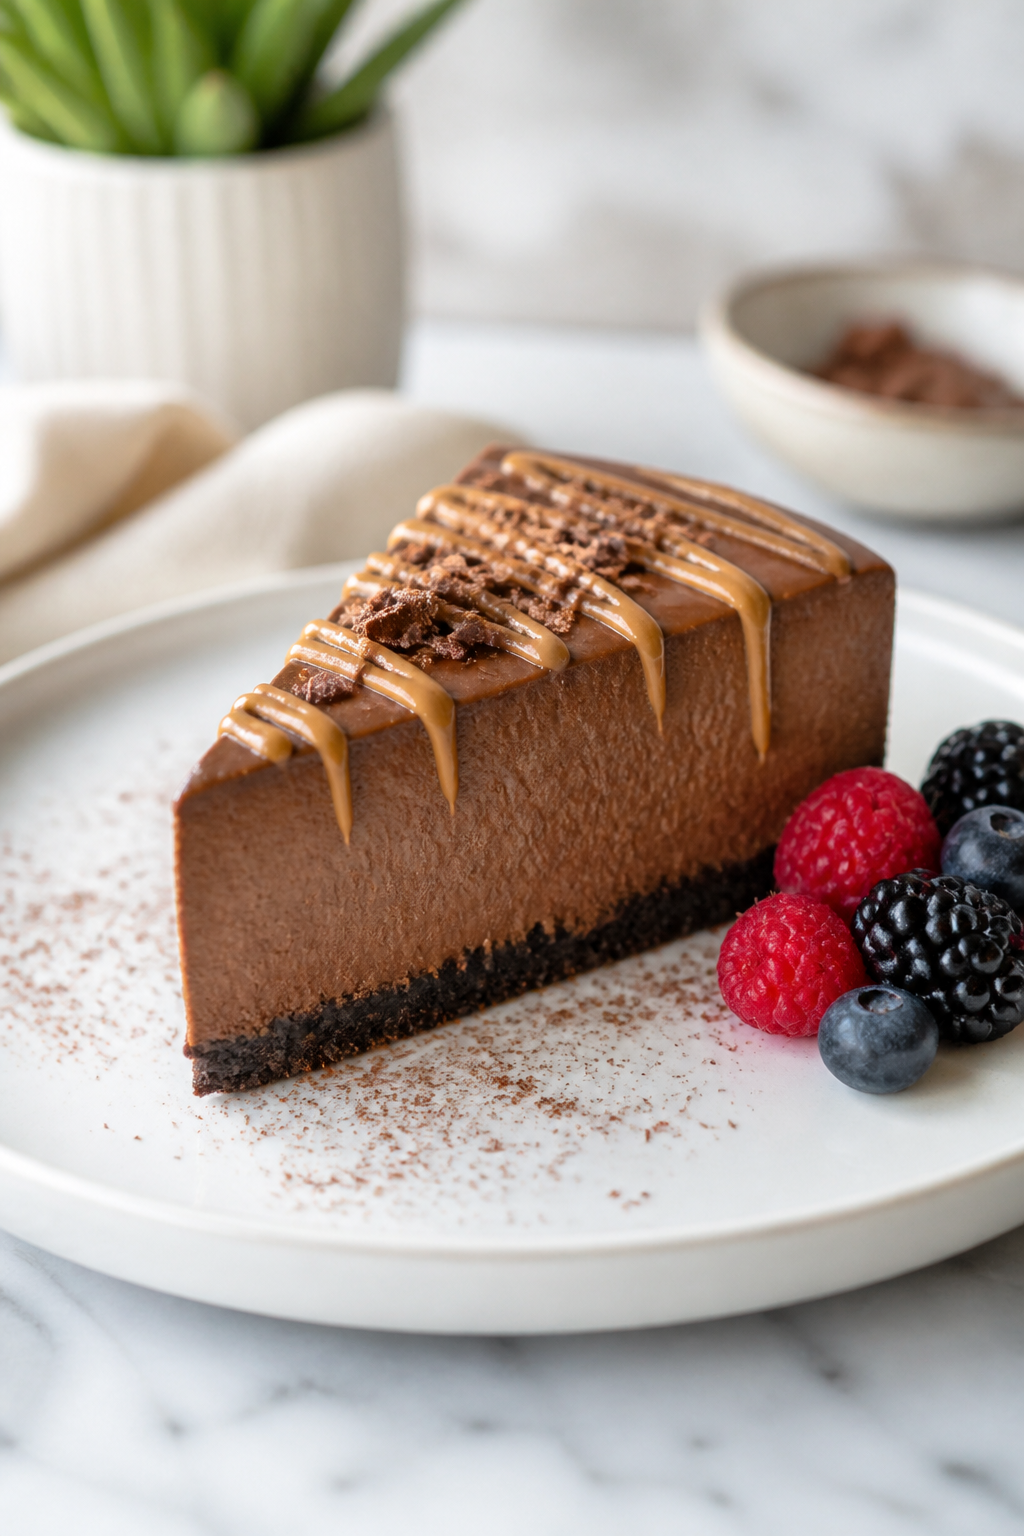
- Slice and serve. Run a thin knife around the edge before unlatching the springform. Warm a sharp knife under hot water, wipe dry, and slice clean wedges. Add berries, chocolate shavings, or a light drizzle if you like.
What Makes This Special
This cheesecake leans on smart swaps that keep the texture lush and the flavor bold. Instead of a heavy cream base, it blends reduced-fat cream cheese and Greek yogurt for creaminess and protein.
Unsweetened cocoa and dark chocolate give it that rich, not-too-sweet chocolate taste. You’ll also get a balanced sweetness from a mix of sugar and zero-calorie sweetener, which helps keep calories in check without a weird aftertaste.
Another bonus: the crust. A light, crisp chocolate-almond base adds flavor and a little crunch while keeping things on the lighter side.
The result feels like a bakery treat, but it supports your goals, not sabotages them.
Shopping List
- For the crust:
- 1 cup chocolate graham cracker crumbs or chocolate wafer crumbs
- 1/2 cup fine almond flour
- 2 tablespoons cocoa powder (unsweetened)
- 3 tablespoons light butter or coconut oil, melted
- 1–2 tablespoons granulated zero-calorie sweetener (to taste)
- Pinch of salt
- For the filling:
- 16 oz (450 g) reduced-fat cream cheese, room temperature
- 1 cup plain 2% Greek yogurt
- 3 large eggs, room temperature
- 1/2 cup whey or casein chocolate protein powder (or a blend), sifted
- 1/3 cup unsweetened cocoa powder, sifted
- 3 oz (85 g) dark chocolate (60–70% cocoa), melted and slightly cooled
- 1/2 cup granulated sugar
- 1/4–1/3 cup granulated zero-calorie sweetener (adjust to taste)
- 1 teaspoon vanilla extract
- 1/4 teaspoon salt
- 2–3 tablespoons milk of choice (only if needed to loosen batter)
- Optional toppings:
- Fresh berries
- Shaved dark chocolate
- A light drizzle of warm peanut butter or chocolate sauce
Step-by-Step Instructions
- Prep the pan. Line the bottom of a 9-inch springform pan with parchment. Lightly grease the sides. Preheat oven to 325°F (163°C).
Set a rack in the lower-middle position.
- Make the crust. In a bowl, mix crumbs, almond flour, cocoa, sweetener, and salt. Stir in melted butter or oil until the texture resembles damp sand. Press firmly into the pan, going slightly up the sides.
Bake 8–10 minutes, then cool while you make the filling.
- Soften and smooth. Beat cream cheese on medium speed until velvety and lump-free, about 2 minutes. Scrape the bowl well. Add Greek yogurt and beat again until smooth.
- Sweeten it right. Add sugar, zero-calorie sweetener, vanilla, and salt.
Beat on low until combined. Taste and adjust sweetness now, before adding eggs and chocolate.
- Add the chocolate power. Beat in cocoa and protein powder on low. Pour in the melted, slightly cooled dark chocolate and mix just until uniform.
If the batter seems too thick, add 1–3 tablespoons milk to loosen. Avoid overmixing.
- Eggs go last. Add eggs one at a time on low speed, mixing just until incorporated. Overbeating adds air, which can cause cracks.
- Pour and smooth. Pour filling over the crust.
Tap the pan gently on the counter to release air bubbles. Run a knife through the batter in a few swirls to pop any hidden pockets of air.
- Create a gentle bake. Place the springform on a sheet pan. Bake 45–55 minutes, until the edges are set and the center wobbles like gelatin, not soup.
If it’s browning too quickly, tent loosely with foil.
- Cool it right. Turn off the oven, crack the door slightly, and let the cheesecake rest inside for 45 minutes. This gradual cooldown helps prevent cracks.
- Chill completely. Transfer to a rack to reach room temperature. Then cover and refrigerate at least 6 hours, preferably overnight.
The texture improves as it chills.
- Slice and serve. Run a thin knife around the edge before unlatching the springform. Warm a sharp knife under hot water, wipe dry, and slice clean wedges. Add berries, chocolate shavings, or a light drizzle if you like.
Keeping It Fresh
Keep leftovers covered in the fridge for 4–5 days.
For the cleanest texture, store without toppings and add them right before serving. If you plan ahead, slice the cheesecake into individual portions and store in airtight containers to make grab-and-go treats.
It also freezes well. Wrap slices tightly in plastic, then foil, and freeze for up to 2 months.
Thaw overnight in the fridge, then let sit at room temp for 10–15 minutes before serving for the best texture.
Why This is Good for You
- High-quality protein: Cream cheese, Greek yogurt, and protein powder work together to support satiety and recovery, especially post-workout.
- Smarter carbs: Using a blend of sugar and zero-calorie sweetener cuts the total sugar load while keeping flavor balanced.
- Better fats: A little dark chocolate and almond flour bring heart-friendly fats and polyphenols, with rich taste for fewer calories.
- Portion-friendly: Because it’s satisfying, a modest slice feels indulgent without overdoing it.
Common Mistakes to Avoid
- Overmixing the batter: Too much air leads to cracks. Mix on low and stop as soon as ingredients combine.
- Skipping room temperature dairy: Cold cream cheese clumps and resists smoothing. Let it soften for a silky texture.
- Overbaking: Pull it when the center still jiggles slightly.
It sets as it cools.
- Rushing the cooldown: A quick temperature change can cause big cracks. Use the oven-cool method and be patient.
- Using the wrong protein: Some plant proteins turn gummy. If using plant-based powder, start with less and adjust texture with milk.
Alternatives
- Gluten-free crust: Use gluten-free chocolate cookies or all almond flour with cocoa and a bit more butter to bind.
- No-bake version: Skip eggs and baking.
Bloom 2 teaspoons powdered gelatin in 3 tablespoons cold water, melt gently, and whisk into the filling with melted chocolate. Chill 6–8 hours until set.
- Dairy-free path: Use dairy-free cream cheese, coconut yogurt, and a plant protein powder. Swap dark chocolate for a dairy-free bar.
Expect a slightly softer set.
- Sweetener swaps: All-sugar works, but raises calories. All-zero-calorie sweetener is possible, though blending types (like erythritol and stevia) often tastes better.
- Flavor twists: Add 1 teaspoon espresso powder for mocha depth, orange zest for brightness, or a swirl of peanut butter before baking.
FAQ
Can I make this without a springform pan?
Yes. Use a deep 9-inch pie dish or an 8-inch square pan lined with parchment.
Watch the bake time, as depth can vary. Let it cool fully before lifting or slicing to keep it intact.
What protein powder works best?
Whey-casein blends give a creamy, cheesecake-like set. Pure whey can be slightly softer, while casein thickens more.
If using plant protein, start with 1/4 cup and add gradually to avoid a chalky texture.
How do I prevent cracks on top?
Use room-temperature ingredients, avoid overmixing, bake low and slow, and cool gradually in the turned-off oven. Running a thin knife around the edge after baking also helps release tension as it cools.
Is a water bath necessary?
Not mandatory here, but it can help. If you want extra insurance, wrap the pan in foil and set it in a larger pan with hot water halfway up the sides.
The texture will be ultra-creamy and less prone to cracking.
How can I tell when it’s done?
Look for set edges and a center that jiggles slightly, like firm gelatin. If the center ripples like liquid, give it another 5–7 minutes and check again. It will firm up as it chills.
Can I cut the calories further?
Yes.
Use fat-free Greek yogurt, reduced-fat cream cheese, and more zero-calorie sweetener. Keep a bit of real sugar for structure and taste if possible, or add a pinch of salt and extra vanilla to round out sweetness.
What if my batter is too thick?
Stir in 1–3 tablespoons milk, just until pourable. Protein powders hydrate differently, so small adjustments are normal.
Don’t exceed what you need, or the texture might become dense.
How long should it chill?
At least 6 hours, but overnight is best. The flavors meld and the structure sets fully, giving clean slices and a smooth bite.
In Conclusion
This High Protein Chocolate Cheesecake brings bakery-level satisfaction with smart nutrition. It’s rich, smooth, and anchored by real chocolate flavor, yet light enough to enjoy any day of the week.
With a few simple techniques and pantry staples, you’ll get consistent, craveable results. Keep a few slices in the fridge or freezer, and dessert suddenly feels both effortless and aligned with your goals.
Printable Recipe Card
Want just the essential recipe details without scrolling through the article? Get our printable recipe card with just the ingredients and instructions.