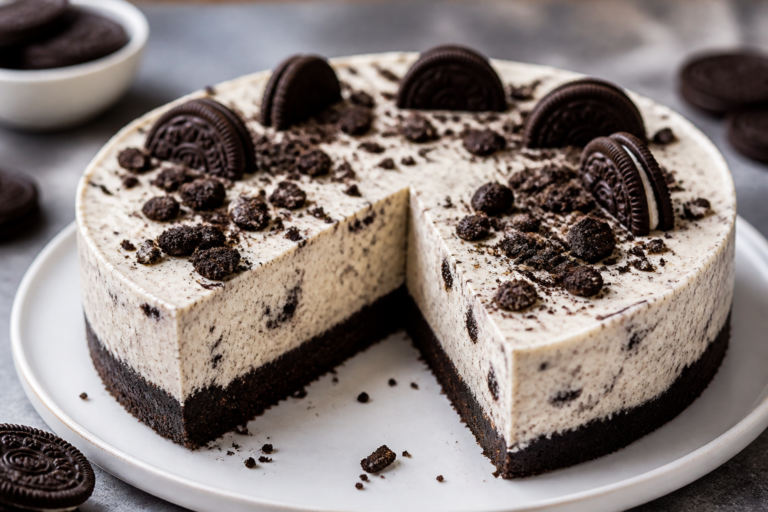
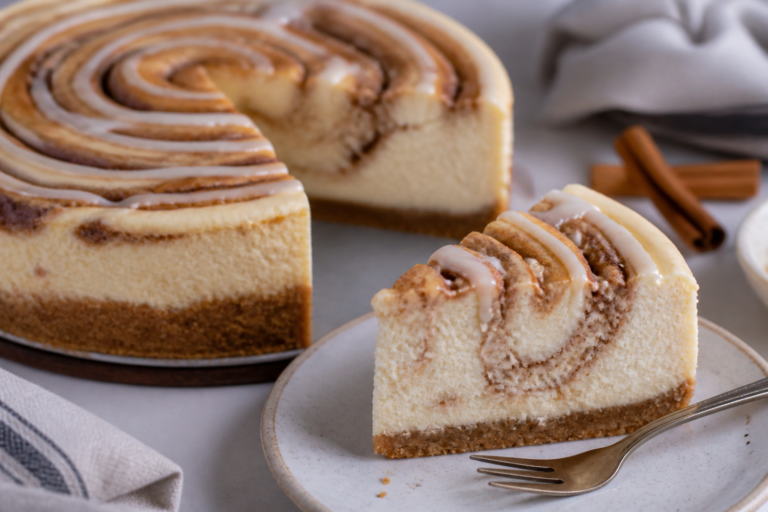
High Protein Vanilla Bean Cheesecake – Creamy, Light, and Satisfying
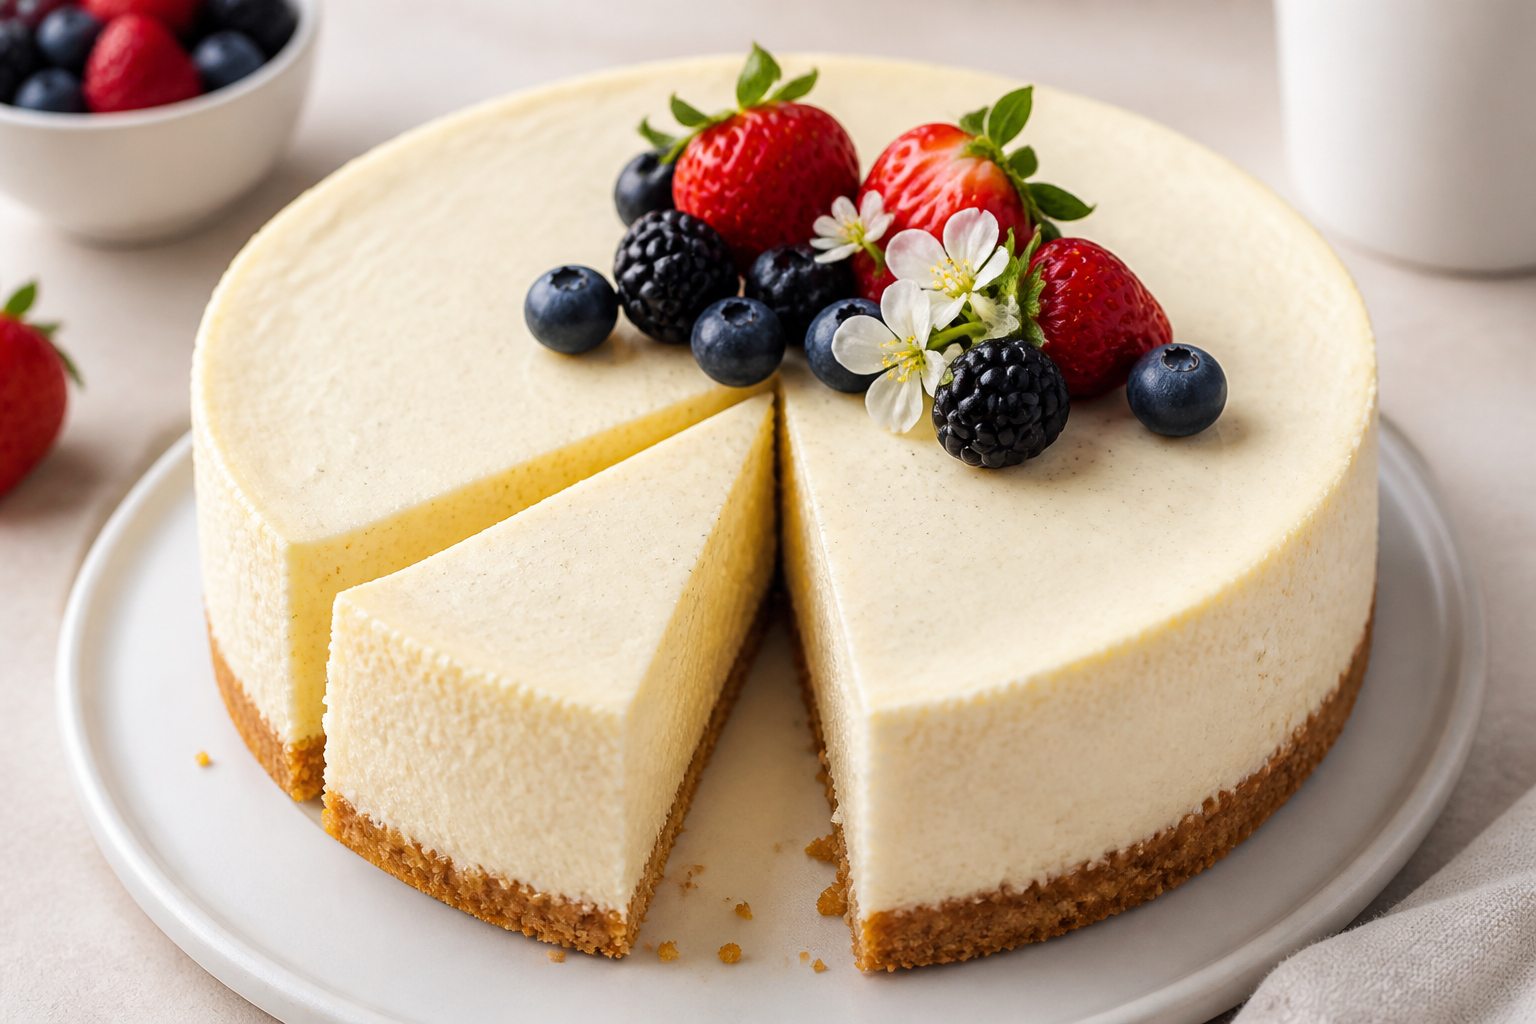
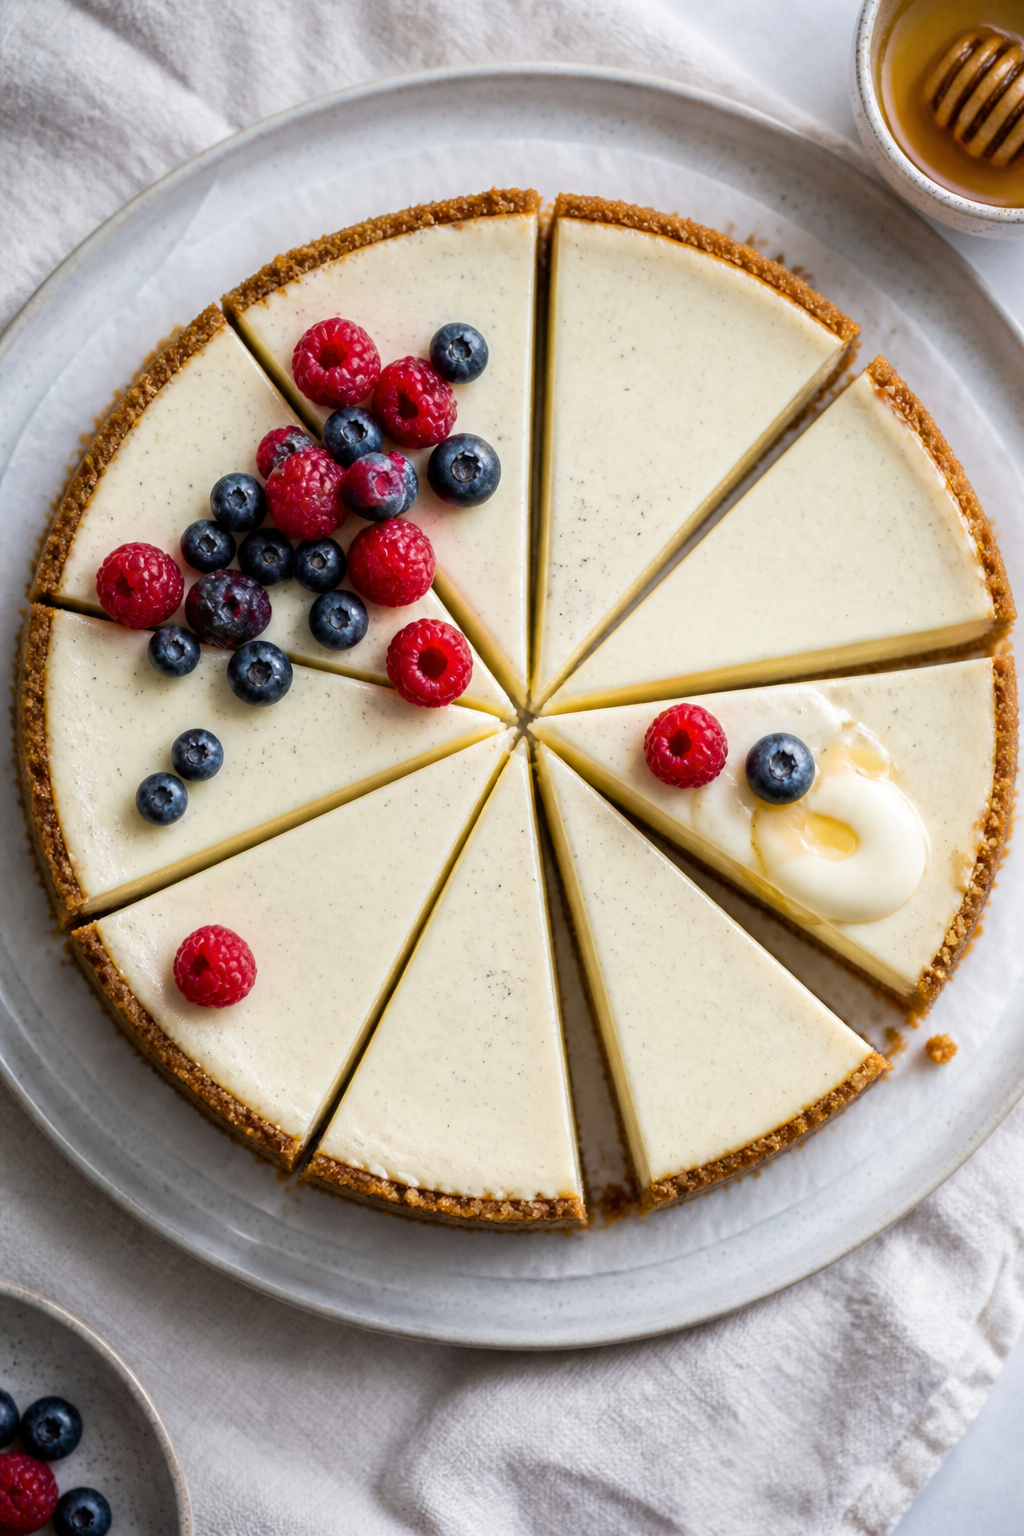
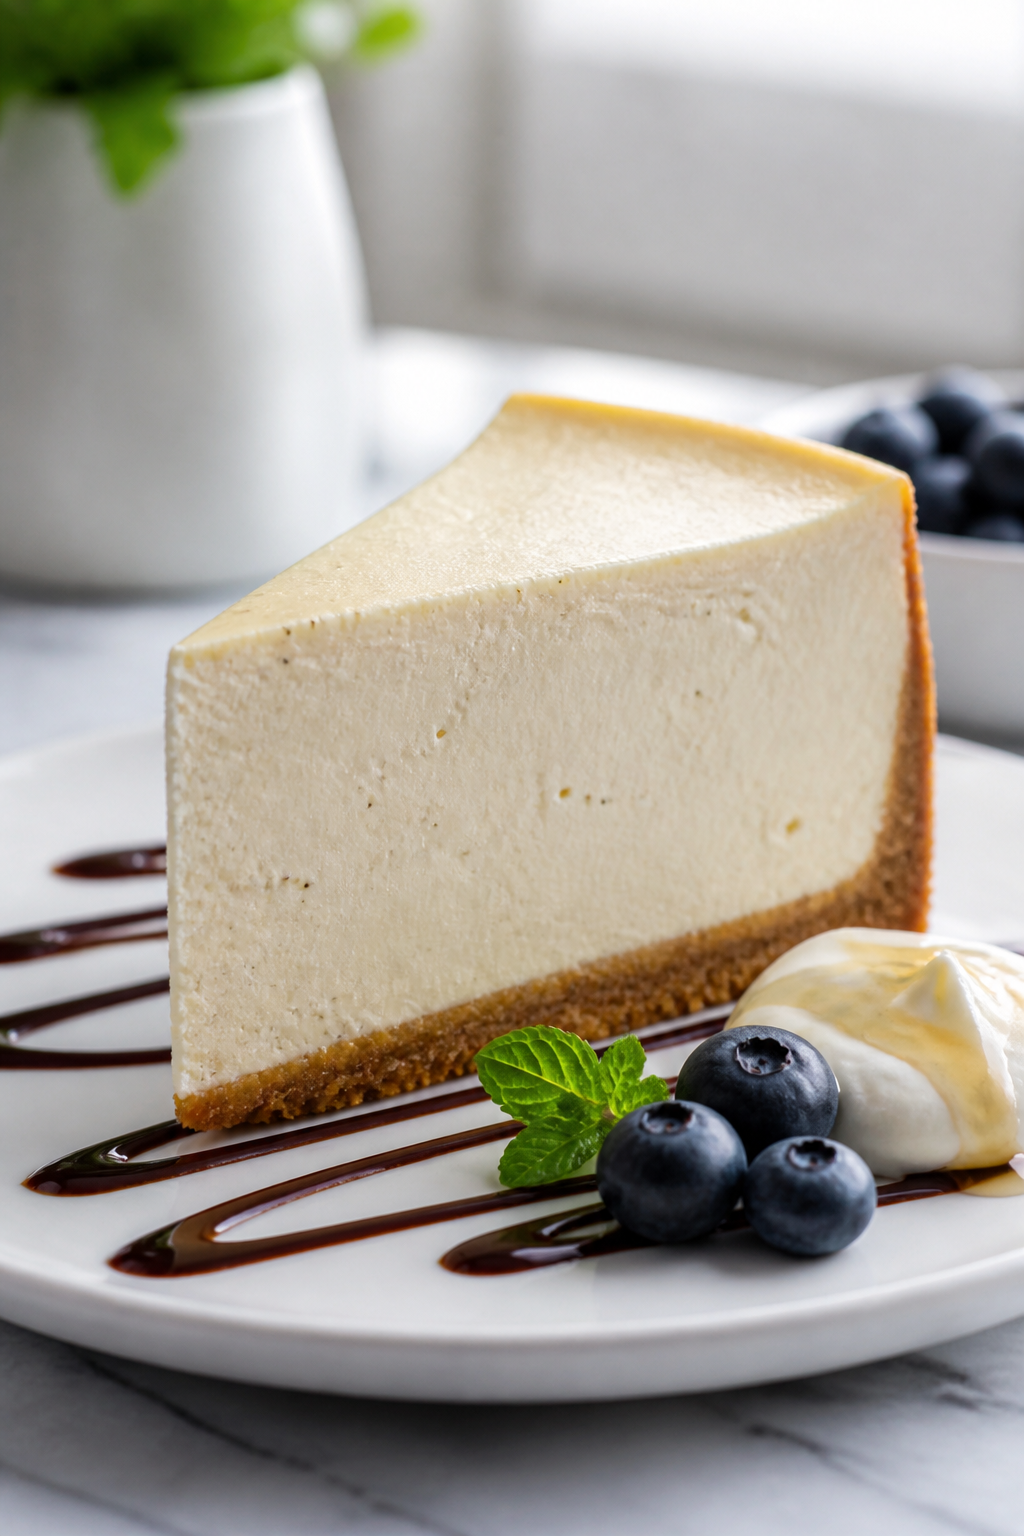
This cheesecake brings classic dessert vibes with a smarter twist. It’s rich, creamy, and full of vanilla bean flavor, but packs a serious protein boost without feeling heavy. The texture lands somewhere between New York cheesecake and a silky custard—smooth, clean, and sliceable.
Stop wondering what's for dinner.
Get 7 healthy, family-friendly dinners complete with recipes and simple meal plans delivered straight to your inbox.
You won’t need fancy techniques or rare ingredients, just simple steps and reliable results. It’s the kind of dessert you’ll make for a weekend treat, meal prep, or a special gathering where you want something impressive yet wholesome.
Ingredients
Method
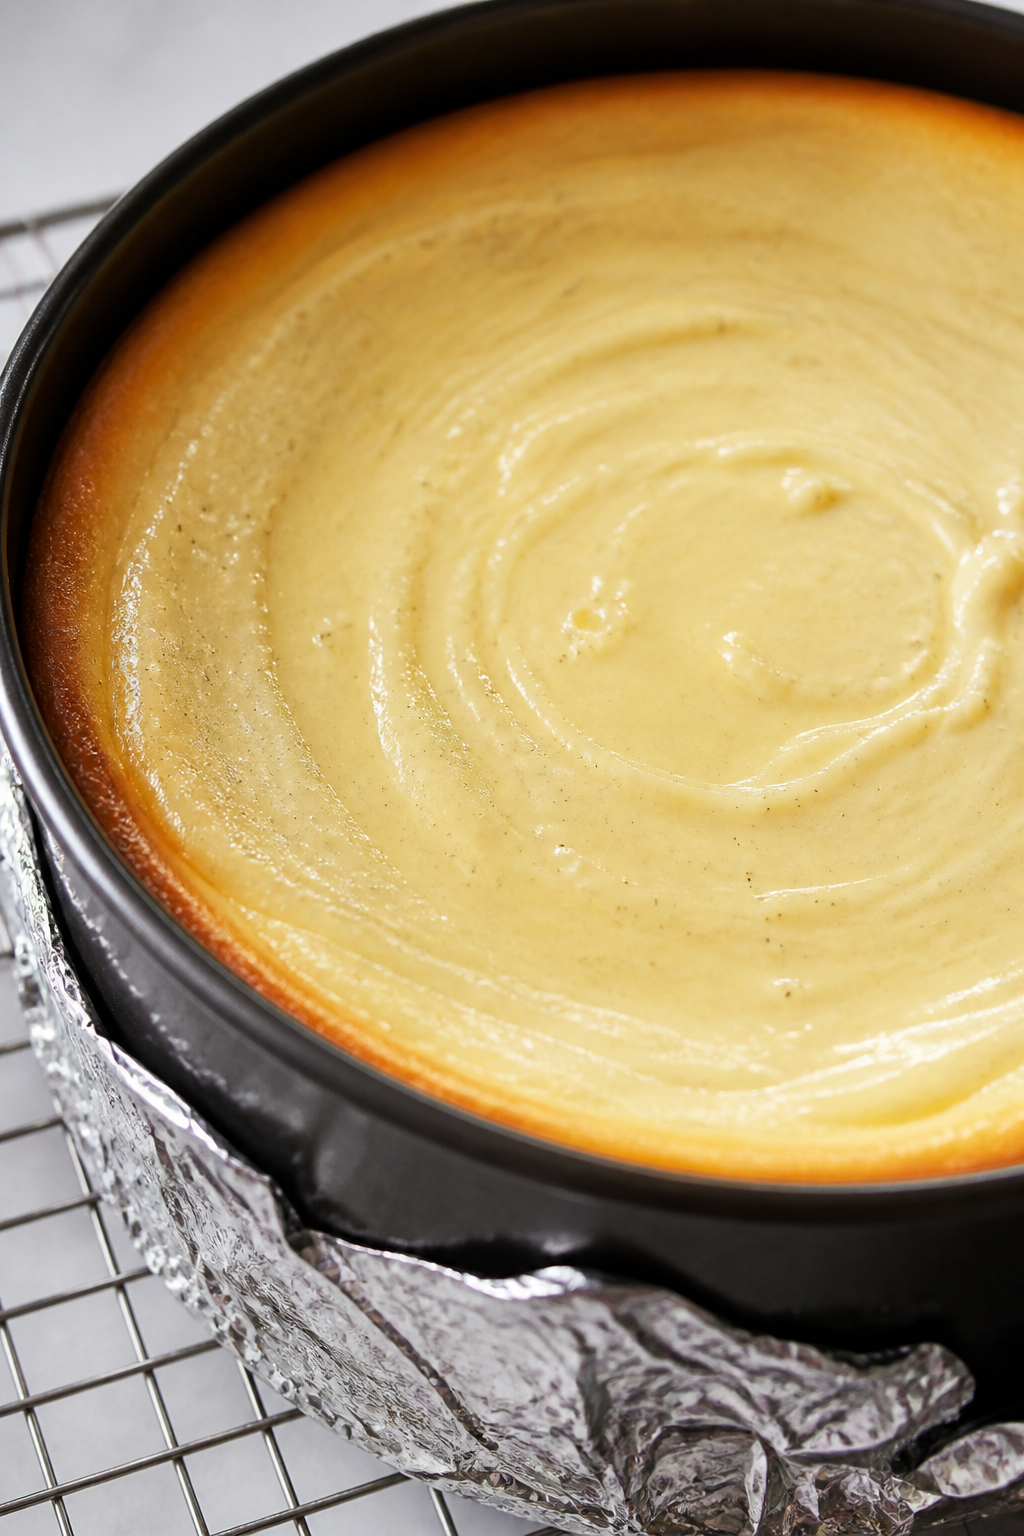
- Prep the pan and oven. Heat the oven to 325°F (163°C). Line the bottom of a 9-inch springform pan with parchment. Lightly grease the sides. Wrap the outside of the pan with foil to catch any butter drips.
- Make the crust. In a bowl, mix crumbs, sugar, and salt. Stir in melted butter until evenly moistened. Press firmly into the bottom of the pan using the bottom of a measuring cup to compact. Bake for 8–10 minutes until lightly golden. Cool while you make the filling.
- Soften the cream cheese. Ensure the cream cheese is truly room temperature. This prevents lumps and helps a silky texture.
- Beat the base. In a large bowl, beat cream cheese on medium speed for 1–2 minutes until smooth. Add sugar and salt. Beat again until glossy and no lumps remain. Scrape the bowl.
- Add yogurt and flavor. Beat in Greek yogurt, vanilla extract, and vanilla bean seeds (or paste) until just combined. Avoid whipping in too much air.
- Mix in protein and starch. Whisk protein powder with cornstarch in a small bowl. Sift or sprinkle it into the batter. Beat on low until smooth. If the batter looks very thick, mix in 2 tablespoons of milk.
- Add the eggs. Beat in eggs and liquid egg whites on low speed, one addition at a time, just until combined. Stop mixing as soon as it’s smooth. Overmixing can cause cracks.
- Fill and smooth. Pour batter over the cooled crust. Tap the pan gently on the counter to release air bubbles. Swirl the top with a spatula for an even finish.
- Bake. Bake at 325°F (163°C) for 40–50 minutes. The edges should be set, and the center should still have a slight wobble, like set Jell-O. If the top browns too quickly, tent loosely with foil during the last 10 minutes.
- Cool gradually. Turn off the oven, crack the door, and let the cheesecake sit inside for 30 minutes. Move to a wire rack and cool to room temperature for 1–2 hours.
- Chill to set. Cover and refrigerate at least 6 hours, preferably overnight. This step is non-negotiable for clean slices and the best texture.
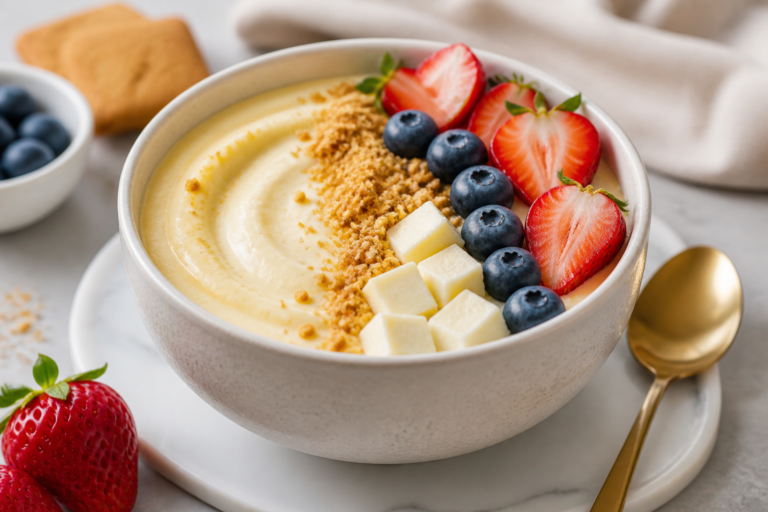
- Slice and serve. Run a thin knife around the edge, then release the springform. Warm a sharp knife under hot water, wipe dry, and slice. Serve plain or with a spoonful of yogurt and fresh berries.
What Makes This Special
This isn’t a diet dessert pretending to be cheesecake—it’s the real deal, made lighter and stronger with protein. Greek yogurt and light cream cheese team up for creaminess without the brick-like density.
Real vanilla bean (or paste) gives it that warm, bakery-style aroma you can’t fake. The crust is crisp, gently sweet, and holds together beautifully. Best of all, it sets in the oven without complicated water baths, then chills to perfection in the fridge.
What You’ll Need
- For the crust:
- 1 1/2 cups (150 g) graham cracker crumbs or digestive biscuit crumbs
- 2 tablespoons granulated sugar or coconut sugar
- 1/4 teaspoon fine salt
- 5 tablespoons (70 g) unsalted butter, melted
- For the filling:
- 16 ounces (450 g) light cream cheese, softened to room temperature
- 1 1/2 cups (340 g) plain 2% or nonfat Greek yogurt
- 3 large eggs, room temperature
- 1/2 cup (120 ml) liquid egg whites or 2 additional egg whites
- 2/3 cup (135 g) granulated sugar or 1/2 cup (100 g) superfine sugar
- 1/4 cup (30 g) vanilla whey or casein protein powder
- 1 tablespoon cornstarch
- 1 tablespoon pure vanilla extract
- Seeds from 1 vanilla bean or 1 1/2 teaspoons vanilla bean paste
- 1/4 teaspoon fine salt
- Optional: 2–3 tablespoons milk to adjust consistency if batter is very thick
- To serve (optional):
- Fresh berries
- Plain Greek yogurt mixed with a little honey for a light topping
- Equipment:
- 9-inch (23 cm) springform pan
- Hand mixer or stand mixer
- Parchment paper and aluminum foil
Instructions
- Prep the pan and oven. Heat the oven to 325°F (163°C).
Line the bottom of a 9-inch springform pan with parchment. Lightly grease the sides. Wrap the outside of the pan with foil to catch any butter drips.
- Make the crust. In a bowl, mix crumbs, sugar, and salt.
Stir in melted butter until evenly moistened. Press firmly into the bottom of the pan using the bottom of a measuring cup to compact. Bake for 8–10 minutes until lightly golden.
Cool while you make the filling.
- Soften the cream cheese. Ensure the cream cheese is truly room temperature. This prevents lumps and helps a silky texture.
- Beat the base. In a large bowl, beat cream cheese on medium speed for 1–2 minutes until smooth. Add sugar and salt.
Beat again until glossy and no lumps remain. Scrape the bowl.
- Add yogurt and flavor. Beat in Greek yogurt, vanilla extract, and vanilla bean seeds (or paste) until just combined. Avoid whipping in too much air.
- Mix in protein and starch. Whisk protein powder with cornstarch in a small bowl.
Sift or sprinkle it into the batter. Beat on low until smooth. If the batter looks very thick, mix in 2 tablespoons of milk.
- Add the eggs. Beat in eggs and liquid egg whites on low speed, one addition at a time, just until combined.
Stop mixing as soon as it’s smooth. Overmixing can cause cracks.
- Fill and smooth. Pour batter over the cooled crust. Tap the pan gently on the counter to release air bubbles.
Swirl the top with a spatula for an even finish.
- Bake. Bake at 325°F (163°C) for 40–50 minutes. The edges should be set, and the center should still have a slight wobble, like set Jell-O. If the top browns too quickly, tent loosely with foil during the last 10 minutes.
- Cool gradually. Turn off the oven, crack the door, and let the cheesecake sit inside for 30 minutes.
Move to a wire rack and cool to room temperature for 1–2 hours.
- Chill to set. Cover and refrigerate at least 6 hours, preferably overnight. This step is non-negotiable for clean slices and the best texture.
- Slice and serve. Run a thin knife around the edge, then release the springform. Warm a sharp knife under hot water, wipe dry, and slice.
Serve plain or with a spoonful of yogurt and fresh berries.
Keeping It Fresh
Store the cheesecake covered in the fridge for up to 5 days. For clean storage, keep it on the springform base or a flat plate and cover with an inverted bowl or cake dome. If you want to freeze leftovers, slice the cheesecake first, lay slices on a sheet pan to freeze, then wrap individually.
Thaw in the fridge overnight for the best texture and flavor. Avoid leaving it at room temperature for more than 2 hours.
Benefits of This Recipe
- High protein without chalkiness. The blend of Greek yogurt, eggs, and a small amount of protein powder boosts protein while staying creamy.
- Balanced sweetness. It tastes like classic cheesecake—sweet but not cloying—so it pairs well with fruit or a light topping.
- Lighter feel. Using light cream cheese and yogurt cuts heaviness but keeps that satisfying richness.
- Simple technique. No water bath or complicated steps. Gentle baking and slow cooling do the trick.
- Meal prep–friendly. Slices keep well, making it a great make-ahead dessert or snack.
What Not to Do
- Don’t use cold dairy. Cold cream cheese will leave lumps and overmixing to fix them adds air, which leads to cracks.
- Don’t crank the oven heat. High heat makes the cheesecake puff and fall.
Low and steady gives you a smooth set.
- Don’t skip the chill. Warm cheesecake tastes eggy and soft. Chilling develops flavor and firmness.
- Don’t pack in too much protein powder. Extra powder can make it dry and dense. Stick to the amount listed.
- Don’t cut while warm. You’ll get messy slices and a saggy center.
Be patient.
Recipe Variations
Never wonder what's for dinner again.
Get 7 healthy, family-friendly dinners complete with recipes, grocery lists, and simple meal plans delivered straight to your inbox.
- Almond Crunch Crust: Swap 1/3 of the crumbs for finely ground almonds and add a pinch of cinnamon.
- Vanilla Berry Swirl: Drop spoonfuls of mashed raspberries or strawberries on top of the batter and swirl gently with a knife.
- Chocolate Drizzle: Melt 2 ounces dark chocolate and drizzle over chilled slices for a rich contrast.
- Gluten-Free: Use gluten-free graham crackers or almond flour. For almond flour, add 1 extra tablespoon butter to help it bind.
- Lower Sugar: Use 1/2 cup sugar or a 1:1 baking sweetener you trust. Taste the batter and adjust vanilla to keep flavor rounded.
- Extra Vanilla: Use both vanilla extract and paste for a bolder, speckled look and deeper aroma.
- No-Crust Mini Cups: Bake in lined muffin tins for 16–20 minutes.
Great for portion control and easy freezing.
FAQ
Can I make this without protein powder?
Yes. Omit the protein powder and add 1 extra tablespoon of cornstarch. The texture will still be creamy, just slightly less protein-dense.
You can also add 2 more tablespoons of Greek yogurt if the batter seems thick.
What type of protein powder works best?
Whey or a whey/casein blend mixes smoothly and bakes well. Casein alone yields a thicker, denser texture. If using plant-based powder, choose a very fine, neutral one and reduce to 2–3 teaspoons to avoid grittiness.
Why did my cheesecake crack?
Cracks usually come from overmixing, high heat, or rapid temperature changes.
Keep mixing on low, bake until just set, and cool gradually in the oven with the door cracked. Even if it cracks, it still tastes great—cover with berries or a light yogurt topping.
Can I use full-fat cream cheese?
Absolutely. It will be richer and slightly firmer.
If you use full-fat, you can skip the optional milk and keep all other amounts the same.
How do I know when it’s done?
The edges should be set and the center should wobble slightly when you nudge the pan. If it sloshes, it needs more time. If it’s puffed and browned deeply, it’s likely overbaked.
Can I make it ahead?
Yes.
This is ideal to make a day in advance. Chill overnight and slice just before serving for the cleanest cuts and best flavor.
What pan can I use if I don’t have a springform?
A deep 9-inch cake pan lined with a long strip of parchment sling can work. Let it chill fully, then lift out carefully.
Baking time may vary slightly.
How can I boost protein even more?
Add 1/4 cup more Greek yogurt and replace the liquid egg whites with two additional whole eggs. Note it will be a bit denser and richer.
Wrapping Up
This High Protein Vanilla Bean Cheesecake brings that classic, silky bite with a fresher feel and a solid protein boost. It’s simple to pull together, friendly for meal prep, and flexible enough for swaps and add-ins.
Keep the heat gentle, cool it slowly, and give it time to chill. You’ll end up with a dessert that looks impressive, tastes luxurious, and fits your goals without feeling like a compromise.
Printable Recipe Card
Want just the essential recipe details without scrolling through the article? Get our printable recipe card with just the ingredients and instructions.
Loved This Recipe?
If you're looking for more simple, healthy dinners your family will actually eat, grab my FREE 7-Day Easy Dinner Reset. You'll get 7 easy dinner recipes, simple grocery lists, and a done-for-you plan that takes the stress out of mealtime.