High Protein Chocolate Chip Cheesecake – Creamy, Satisfying, and Better for You
This cheesecake brings together a classic dessert flavor with a smart, protein-packed twist. It’s creamy, lightly sweet, and dotted with melty chocolate chips—without feeling heavy. Whether you’re tracking macros or just want dessert that keeps you full, this one hits the spot.
The texture is rich but not dense, the sweetness is balanced, and the prep is simple enough for a weeknight. Make it for meal prep, a holiday table, or anytime you want a treat that tastes indulgent and still supports your goals.

High Protein Chocolate Chip Cheesecake - Creamy, Satisfying, and Better for You
Ingredients
Method
- Prep the pan. Heat oven to 325°F (160°C). Line the bottom of a 9-inch springform pan with parchment and lightly grease the sides. If using a water bath, wrap the outside of the pan with a double layer of heavy-duty foil to protect it from leaks.
- Make the crust. Stir graham crumbs, sugar, melted butter, and a pinch of salt until the texture resembles damp sand. Press evenly into the bottom of the pan, packing it tight with the bottom of a measuring cup. Bake for 8–10 minutes until lightly set. Cool for 5–10 minutes while you prepare the filling.
- Soften and smooth the cream cheese. In a large bowl, beat the light cream cheese on medium until smooth and lump-free, 1–2 minutes. Scrape the bowl as needed. This step prevents a gritty texture later.
- Add yogurt, sweetener, and vanilla. Beat in the Greek yogurt, sweetener, and vanilla until creamy. Avoid whipping in too much air.
- Blend in protein and starch. Sprinkle in the protein powder, cornstarch, and salt. Mix on low until just combined. Do not overmix—it can make the cheesecake crack.
- Add eggs last. Beat in the eggs one at a time on low, just until incorporated. Stir in the chocolate chips with a spatula.
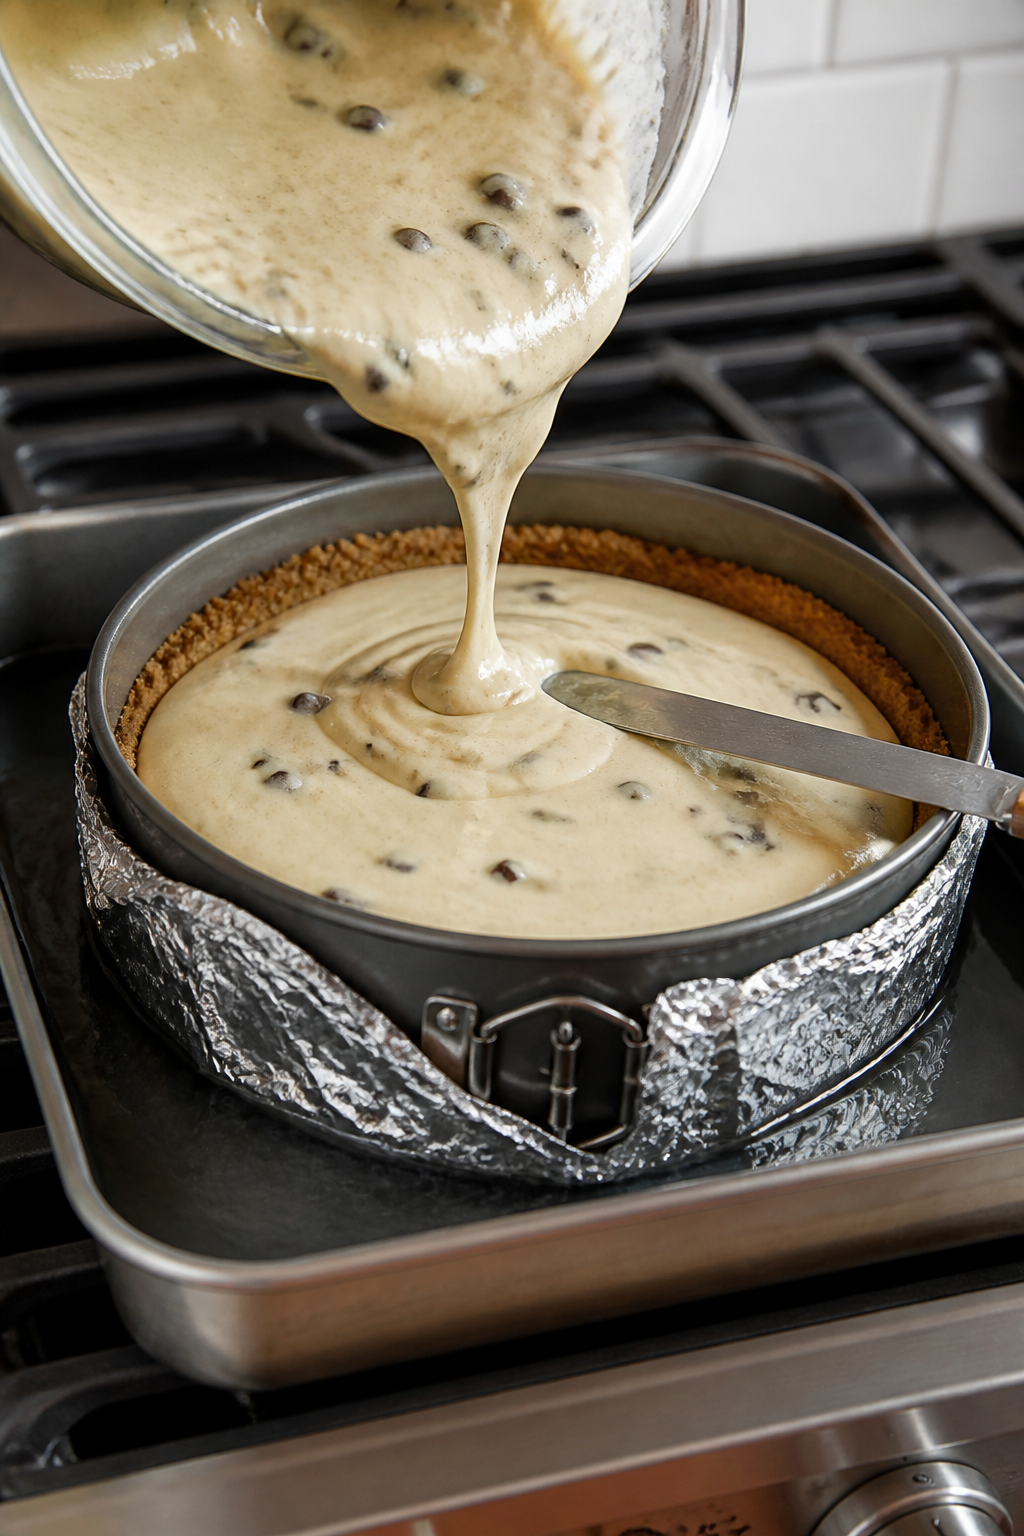
- Assemble the water bath (optional but helpful). Place the foil-wrapped springform pan in a roasting pan. Pour the filling over the crust and smooth the top. Add hot water to the roasting pan until it reaches about halfway up the springform pan sides.
- Bake low and slow. Bake at 325°F for 45–55 minutes. The edges should be set, and the center should still jiggle like Jell-O. Don’t wait for it to be firm in the middle—it will finish setting as it cools.
- Cool gradually. Turn off the oven, crack the door, and let the cheesecake rest for 30 minutes. Remove from the oven and water bath. Run a thin knife around the inside edge to loosen it and reduce cracking.
- Chill completely. Cool to room temperature, then cover and chill for at least 6 hours, preferably overnight. Sprinkle a few extra mini chips on top before serving if you like.
- Slice cleanly. Use a sharp knife dipped in hot water and wiped between cuts for neat slices.
What Makes This Special
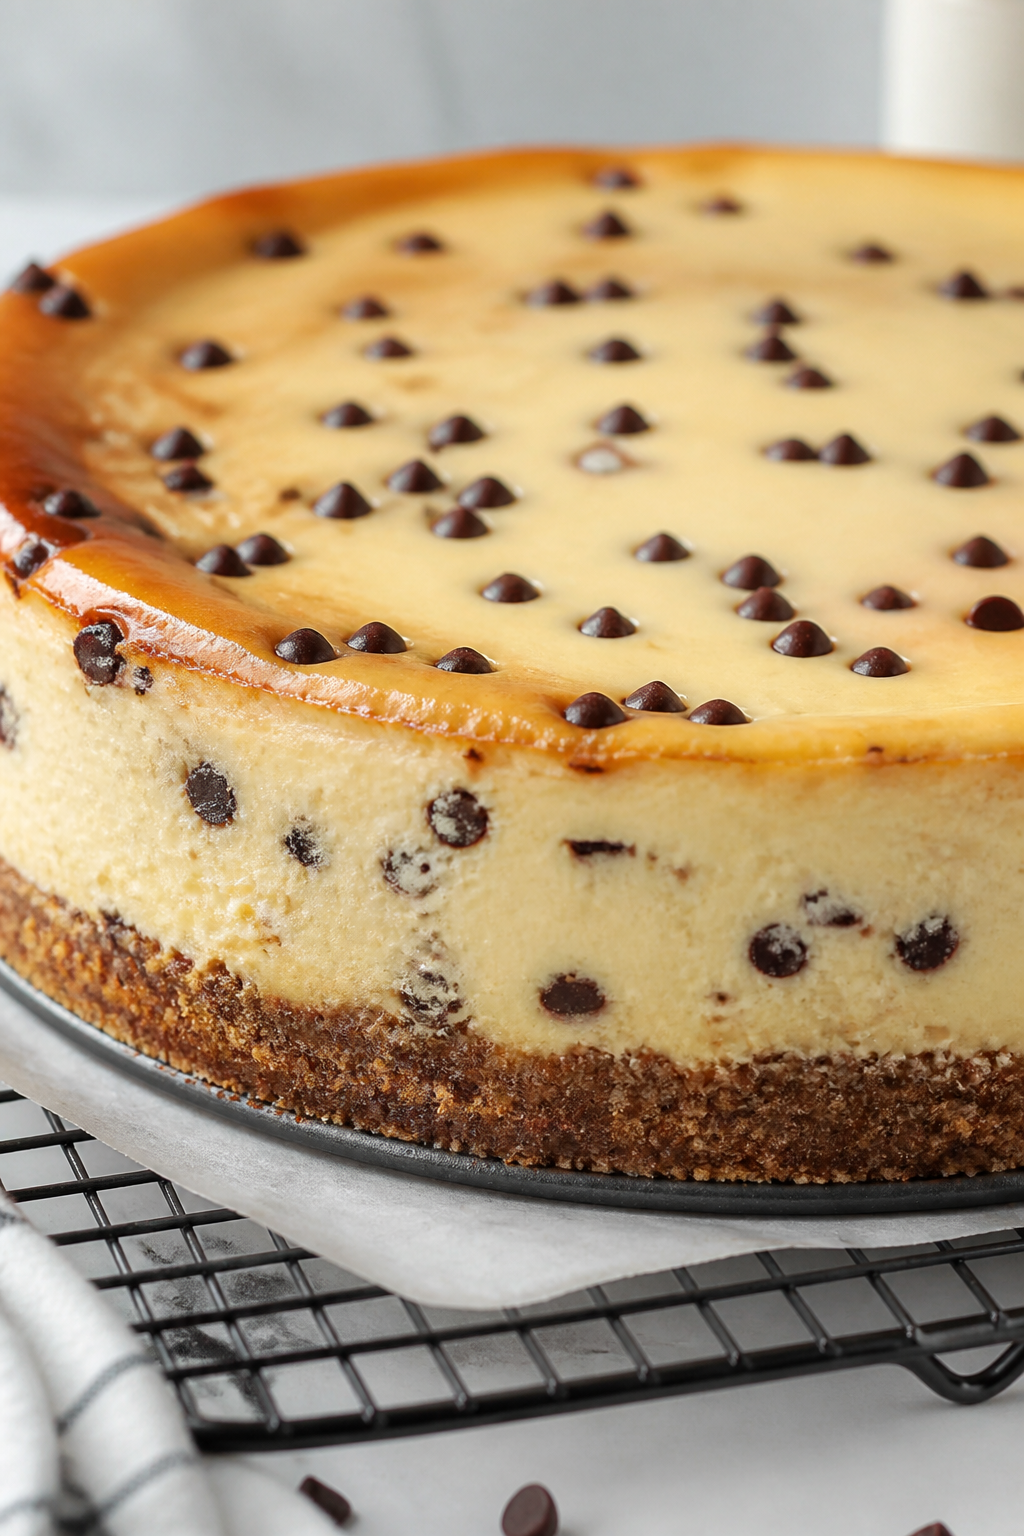
This cheesecake leans on protein-rich ingredients to deliver that classic creamy bite with fewer empty calories. A blend of Greek yogurt, light cream cheese, and whey creates a smooth, stable filling that bakes beautifully.
The crust is lighter too, with a graham base that holds together without loads of butter. It’s not a “diet” dessert—it’s a smart one that still feels like the real thing. And yes, you get plenty of chocolate chips in every slice.
What You’ll Need
- For the crust:
- 1 1/2 cups graham cracker crumbs (about 12 full sheets)
- 3 tablespoons granulated sugar or coconut sugar
- 4 tablespoons melted light butter or coconut oil
- Pinch of salt
- For the filling:
- 16 ounces light cream cheese (reduced-fat), softened to room temp
- 1 1/2 cups plain 2% Greek yogurt
- 1/2 cup vanilla whey or casein-whey blend protein powder
- 1/2 cup granulated sweetener (sugar, allulose, or a sugar substitute you like)
- 2 large eggs, room temp
- 1 teaspoon pure vanilla extract
- 1 tablespoon cornstarch (or arrowroot)
- 1/4 teaspoon fine salt
- 1/2 cup mini chocolate chips (regular or sugar-free), plus a little extra for topping
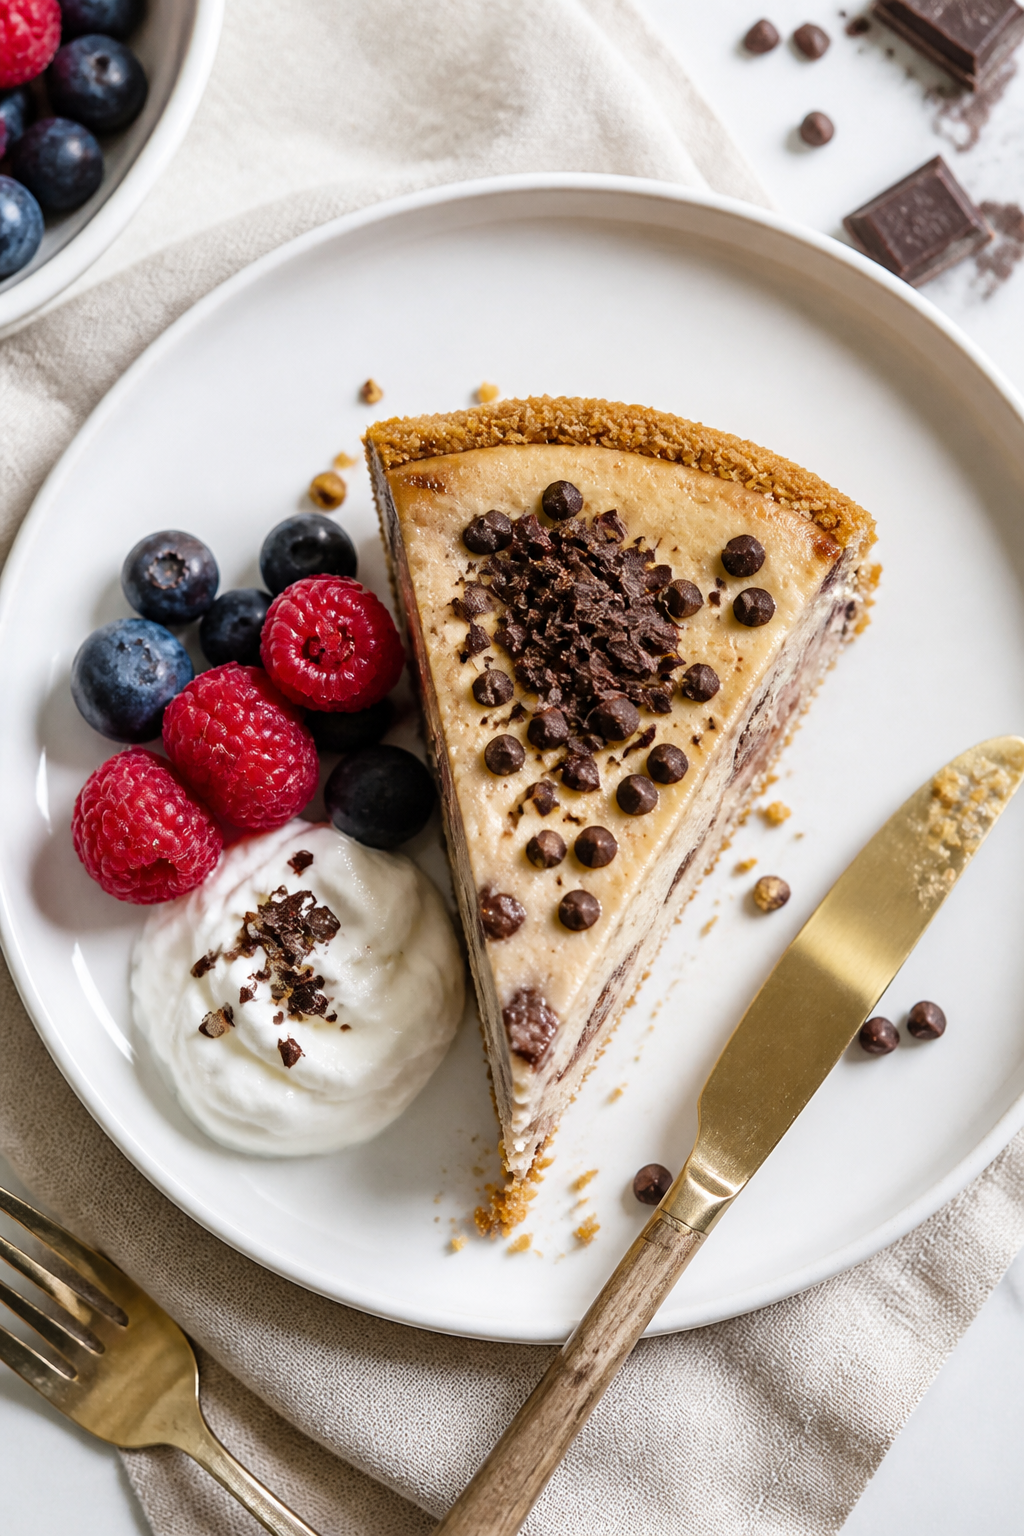
- For serving (optional):
- Fresh berries
- Light whipped topping or a dollop of Greek yogurt
- Shaved dark chocolate
- Equipment:
- 9-inch springform pan
- Large mixing bowls
- Hand mixer or stand mixer
- Foil and roasting pan for water bath (optional but recommended)
How to Make It
- Prep the pan. Heat oven to 325°F (160°C).
Line the bottom of a 9-inch springform pan with parchment and lightly grease the sides. If using a water bath, wrap the outside of the pan with a double layer of heavy-duty foil to protect it from leaks.
- Make the crust. Stir graham crumbs, sugar, melted butter, and a pinch of salt until the texture resembles damp sand. Press evenly into the bottom of the pan, packing it tight with the bottom of a measuring cup.
Bake for 8–10 minutes until lightly set. Cool for 5–10 minutes while you prepare the filling.
- Soften and smooth the cream cheese. In a large bowl, beat the light cream cheese on medium until smooth and lump-free, 1–2 minutes. Scrape the bowl as needed.
This step prevents a gritty texture later.
- Add yogurt, sweetener, and vanilla. Beat in the Greek yogurt, sweetener, and vanilla until creamy. Avoid whipping in too much air.
- Blend in protein and starch. Sprinkle in the protein powder, cornstarch, and salt. Mix on low until just combined. Do not overmix—it can make the cheesecake crack.
- Add eggs last. Beat in the eggs one at a time on low, just until incorporated.
Stir in the chocolate chips with a spatula.
- Assemble the water bath (optional but helpful). Place the foil-wrapped springform pan in a roasting pan. Pour the filling over the crust and smooth the top. Add hot water to the roasting pan until it reaches about halfway up the springform pan sides.
- Bake low and slow. Bake at 325°F for 45–55 minutes.
The edges should be set, and the center should still jiggle like Jell-O. Don’t wait for it to be firm in the middle—it will finish setting as it cools.
- Cool gradually. Turn off the oven, crack the door, and let the cheesecake rest for 30 minutes. Remove from the oven and water bath. Run a thin knife around the inside edge to loosen it and reduce cracking.
- Chill completely. Cool to room temperature, then cover and chill for at least 6 hours, preferably overnight.
Sprinkle a few extra mini chips on top before serving if you like.
- Slice cleanly. Use a sharp knife dipped in hot water and wiped between cuts for neat slices.
Storage Instructions
- Refrigerator: Store covered in the springform pan or in an airtight container for 4–5 days.
- Freezer: Freeze individual slices, well wrapped, for up to 2 months. Thaw overnight in the fridge.
- Make-ahead: This cheesecake tastes even better the next day. Bake the day before serving for best texture and clean slices.
Benefits of This Recipe
- High in protein: A smart blend of Greek yogurt, light cream cheese, and whey boosts satiety without losing the classic cheesecake feel.
- Lighter than traditional: Reduced-fat dairy and a modest crust keep calories in check while staying rich and creamy.
- Flexible sweetness: Works with sugar, allulose, or a sugar substitute.
You control the flavor and macros.
- Meal-prep friendly: Holds well for days and freezes nicely, so you can plan your treats.
Common Mistakes to Avoid
- Overmixing the batter: Too much air creates cracks and a spongy texture. Mix on low and stop when combined.
- Skipping room-temperature ingredients: Cold cream cheese or eggs create lumps. Let everything warm up first.
- Overbaking: Waiting for the center to set leads to dryness.
Pull it when the middle still jiggles.
- Skipping the cool-down steps: Sudden temperature changes cause cracks. Let it rest in the oven, then cool fully before chilling.
- Using too much protein powder: More isn’t always better. Extra powder can turn it chalky.
Stick to the listed amount.
Recipe Variations
- Cookie Crust Swap: Use chocolate graham crackers or crushed high-protein cookies for a deeper flavor.
- Chocolate Swirl: Melt 2 ounces dark chocolate and swirl into the top of the batter before baking.
- Peanut Butter Chip: Replace half the mini chips with peanut butter chips and add 1 tablespoon powdered peanut butter to the filling.
- Mint Chocolate: Add 1/2 teaspoon peppermint extract and use dark chocolate chips.
- Gluten-Free: Choose gluten-free graham crackers or almond flour crust (1 1/2 cups almond flour + 3 tbsp sugar + 3 tbsp melted butter + pinch salt).
- No-Bake Shortcut: Skip the eggs and cornstarch. Whip 8 ounces light cream cheese with 1 cup Greek yogurt, 1/3 cup protein powder, sweetener, and vanilla. Fold in chips and set in a prepared crust.
Chill 6–8 hours. Texture will be softer but very creamy.
FAQ
Can I use fat-free cream cheese or yogurt?
You can, but the texture won’t be as silky and may taste tangier. For the best balance of creaminess and protein, stick with light cream cheese and 2% Greek yogurt.
What kind of protein powder works best?
Whey or a whey-casein blend works well because it mixes smoothly and bakes evenly.
Plant-based powders can work but may make the filling denser and a bit grainy. Start with 1/3 cup if using plant-based and adjust to taste.
Do I have to use a water bath?
No, but it helps prevent cracks and keeps the texture ultra-soft. If you skip it, place a pan of hot water on a lower rack and avoid overbaking.
How do I know when it’s done?
Look for set edges with a 2–3 inch jiggly center when you gently shake the pan.
It will firm up during the cool-down and chill.
Can I reduce the sugar further?
Yes. Use allulose or a favorite sugar substitute. Taste the batter before adding eggs and adjust sweetness if needed.
Why did my cheesecake crack?
Common causes include overmixing, overbaking, and rapid cooling.
Using room-temperature ingredients, mixing on low, and letting it rest in the oven all help. Even if it cracks, it will still taste great—cover with a thin layer of Greek yogurt or extra chips if you like.
Can I make this in a smaller pan?
Yes. For a 7-inch pan, reduce the filling by about one-quarter and extend the bake time slightly.
Always use the jiggle test for doneness.
How many servings does this make?
Typically 10–12 slices. For a higher-protein snack portion, cut into 12. For a dessert portion, 10 slices feel generous.
Final Thoughts
This High Protein Chocolate Chip Cheesecake gives you the best of both worlds: classic dessert flavor and a macro-friendly profile.
It’s simple to make, easy to customize, and reliable enough for company. Keep the steps gentle, don’t rush the cool-down, and let the fridge work its magic. Once you try it, you’ll have a new go-to treat that actually leaves you satisfied.
Printable Recipe Card
Want just the essential recipe details without scrolling through the article? Get our printable recipe card with just the ingredients and instructions.